
16 How to Highlight Your Hair at Home
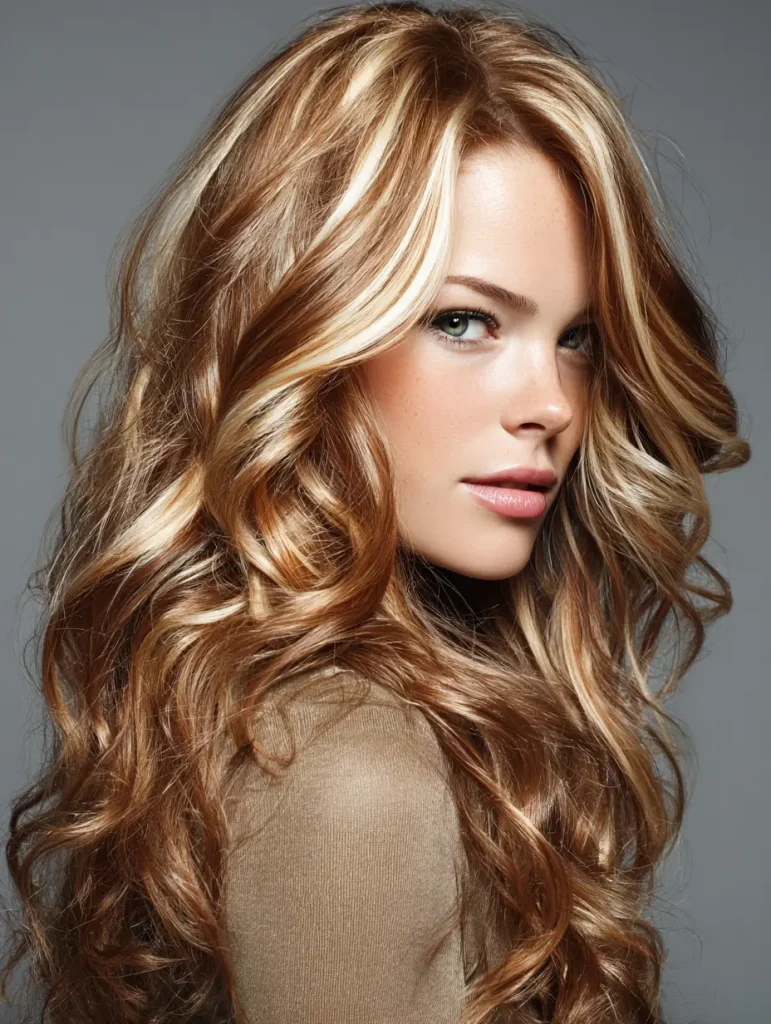
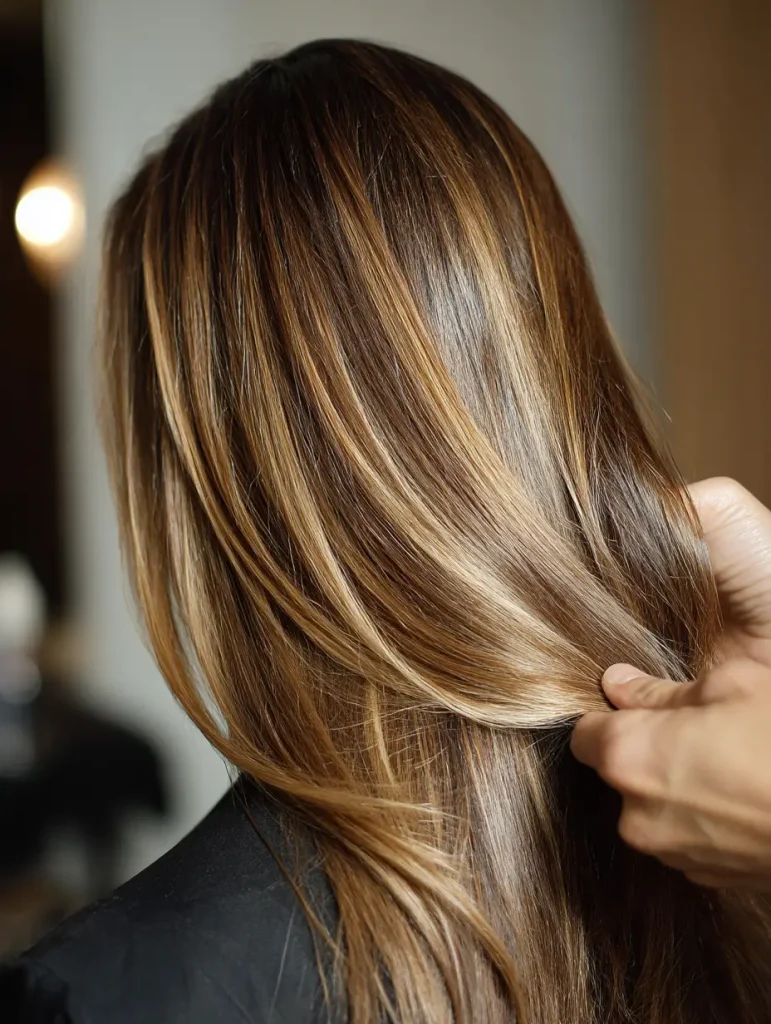
Doing your own highlights at home might sound intimidating, but it’s absolutely doable — and it can be a fun way to refresh your look without spending a fortune at the salon. Whether you’re going for subtle sun-kissed strands or a bold pop of color, the key is preparation, patience, and the right technique. Here’s your full guide to nailing your at-home highlights like a pro.
1. Choose the Right Highlighting Kit
The first step to great highlights is choosing the right product. Drugstores and beauty supply shops carry a variety of highlighting kits, each designed for different hair colors and effects. Look for kits labeled specifically for your current hair shade — for example, “for dark brown hair” or “for medium blonde hair.” Some kits are for chunky highlights, others for subtle glow; some include caps or brushes, while others come with foil. Read the box carefully and check online reviews if you’re unsure. A high-quality kit will make your job much easier and your results more consistent.
2. Know Your Hair Type
Hair texture and thickness significantly influence how bleach or dye reacts. Fine or thin hair tends to lift color more quickly, which means it can lighten faster — and sometimes, overprocess if you’re not watching carefully. On the other hand, coarse or thick hair may need more time and stronger developer to achieve the same results. Curly hair tends to be drier and more fragile, so extra care and conditioning will be important. Knowing your hair’s behavior helps you plan your application and processing time more precisely.
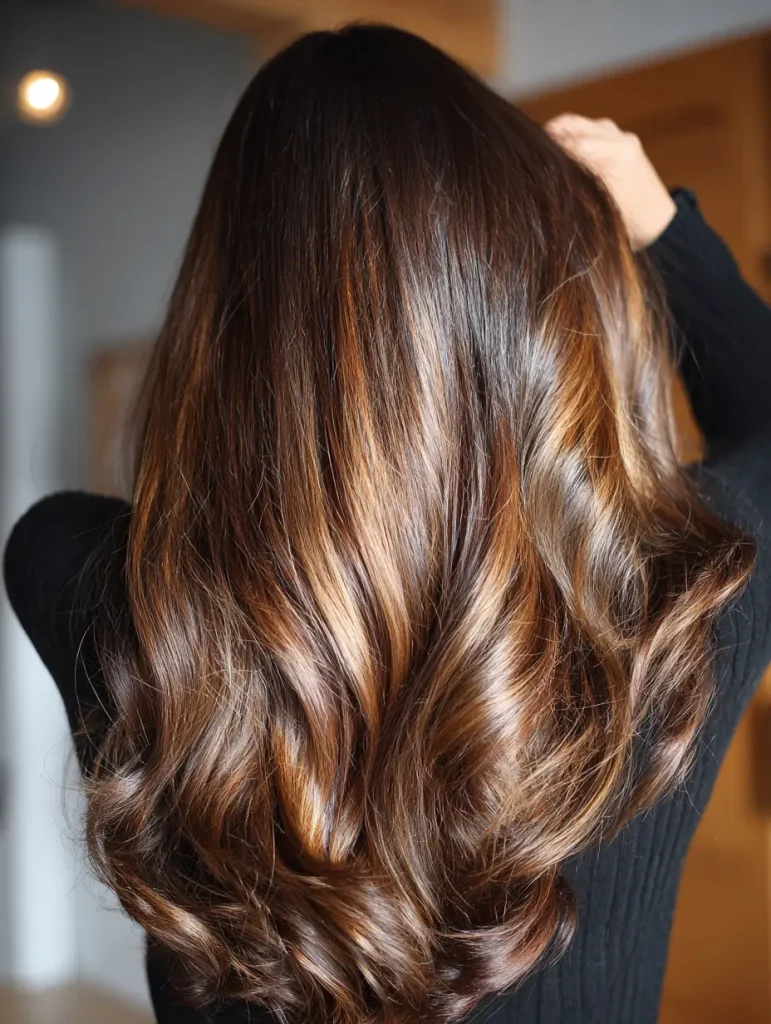
3. Pick the Right Shade
When highlighting at home, it’s safest to stay within 2–3 shades lighter than your natural or current color. Trying to go too light in one session often leads to uneven, brassy, or damaged hair. For example, if you have medium brown hair, aim for a honey or caramel tone rather than platinum blonde. If you’re unsure, err on the side of subtle — you can always go bolder next time. And remember, your skin tone also plays a role. Warmer skin tones typically look great with golden highlights, while cooler skin tones suit ash or beige tones better.
4. Do a Strand Test
A strand test might feel like a hassle, but it’s one of the most important steps. This involves applying the dye or bleach to a small hidden section of hair, letting it process, and observing the results. Not only does it help you check the color outcome, but it also tells you how long you need to process your hair for the desired lift. If your hair turns orange or feels dry, you’ll know to adjust your approach before committing to a full head of highlights.
5. Section Your Hair Properly
Proper sectioning keeps your highlights neat, even, and manageable. Start by dividing your hair into four large sections (two in front, two in back), then work with smaller subsections as you highlight. Use alligator clips or duckbill clips to hold sections in place. This method helps prevent missed spots and color overlapping, and gives you better control as you work through your hair systematically.
6. Use the Right Tools
Don’t rely solely on what comes in the box. While many highlighting kits include basic tools, investing in a few salon-grade supplies can make a huge difference. A rat-tail comb helps create clean, precise sections; a tinting brush gives you more control over application; and gloves protect your hands. Foil sheets, plastic clips, and even a color-safe bowl can all help you replicate a salon experience at home.
7. Start with Dirty Hair
This might go against your instincts, but clean hair is actually more vulnerable during highlighting. Natural oils help protect your scalp and hair strands from the harsh effects of bleach or peroxide. Hair that hasn’t been washed for 24–48 hours is ideal — just make sure there’s no heavy product build-up, which can interfere with the dye’s performance.
8. Foil for Precision
Foil is more than just a pro trick — it helps insulate the hair, speed up the lightening process, and prevent the dye from bleeding onto surrounding hair. You can buy pre-cut foils or tear your own from aluminum foil. Wrap each highlighted strand in foil once the dye is applied, folding it gently to keep the section enclosed. This method gives you more control, especially if you’re aiming for uniform highlights or doing chunkier sections.
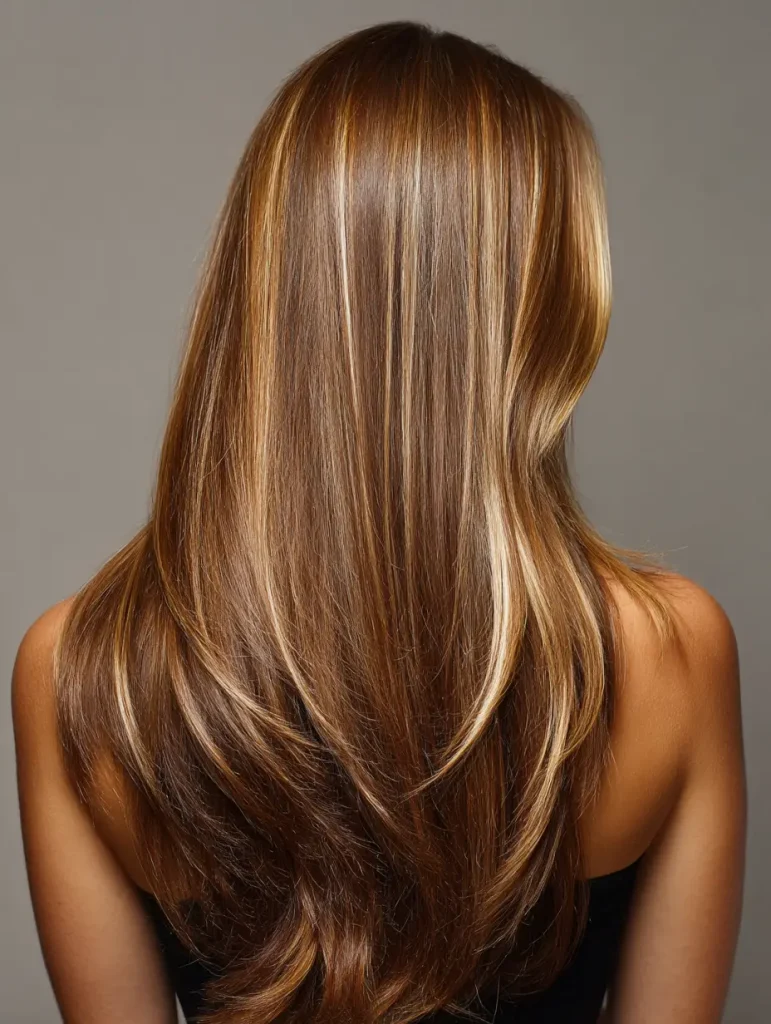
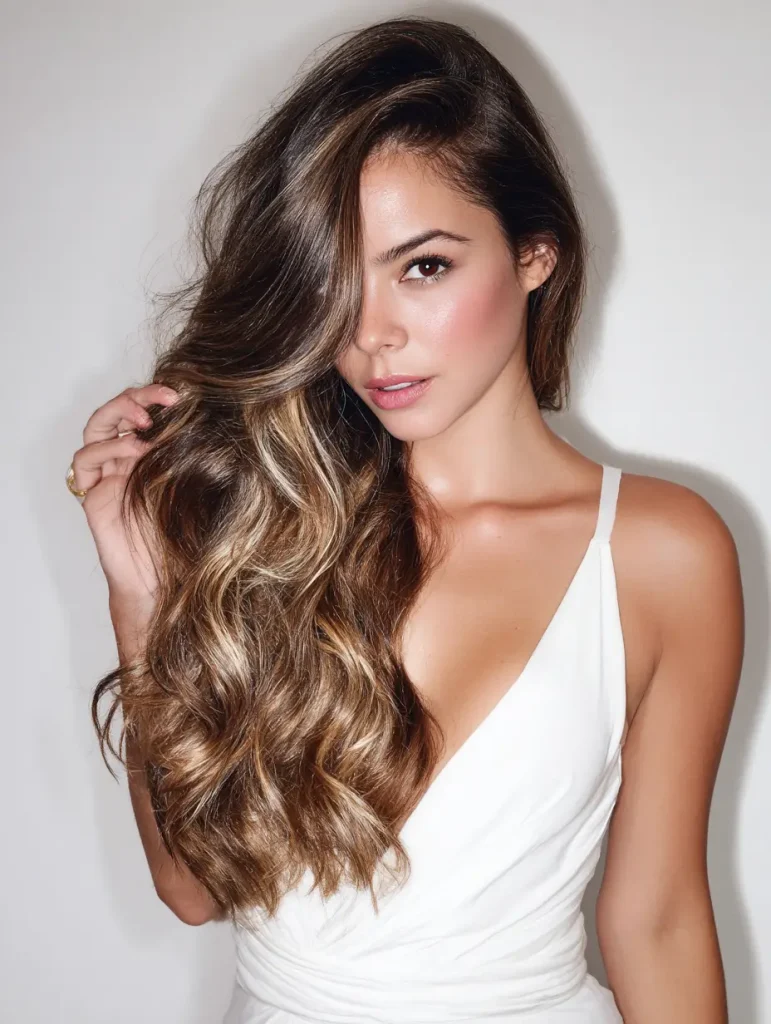
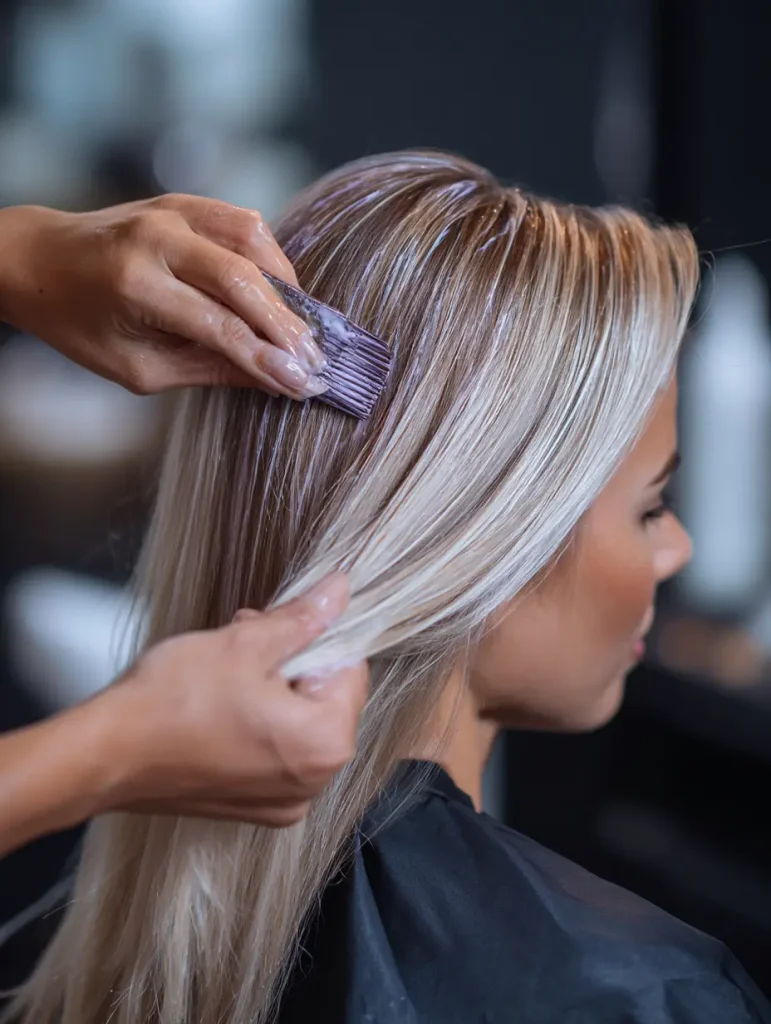
9. Use the Balayage Technique for Natural Highlights
Balayage is a hand-painted highlighting technique that creates a soft, lived-in look. Instead of using foil, you paint lightener onto the surface of the hair using a sweeping motion, focusing more on the mid-lengths and ends rather than the roots. This approach is perfect for beginners and anyone seeking subtle dimension without the commitment of rigid highlight patterns. Balayage also grows out more naturally, meaning fewer touch-ups over time.
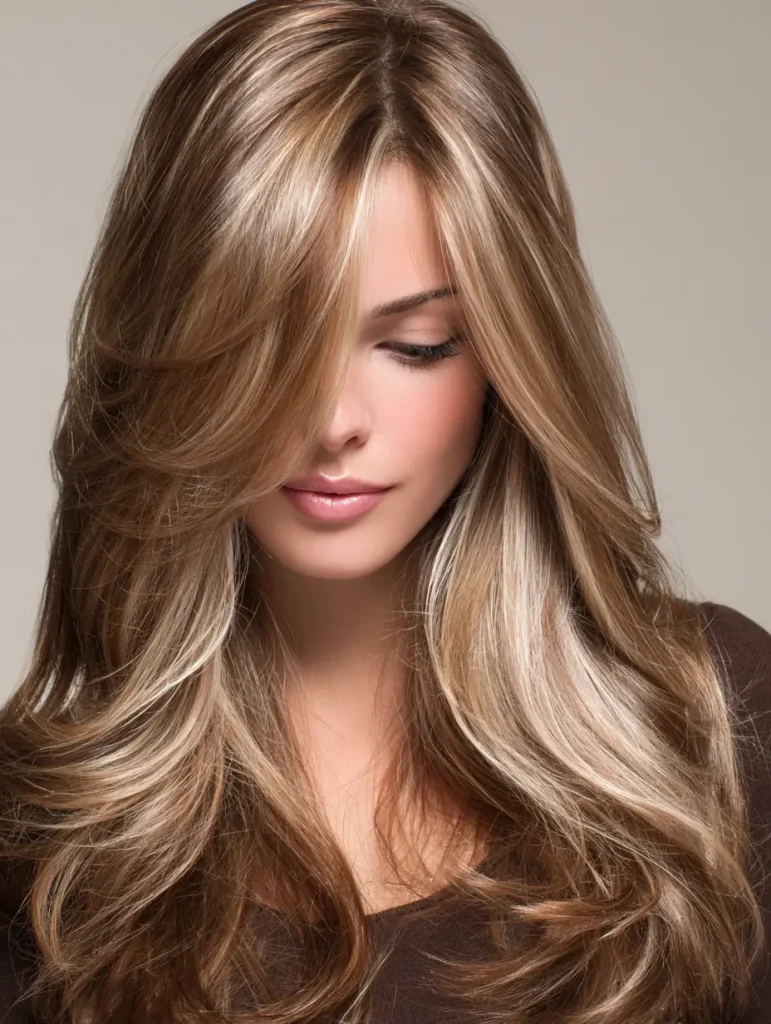
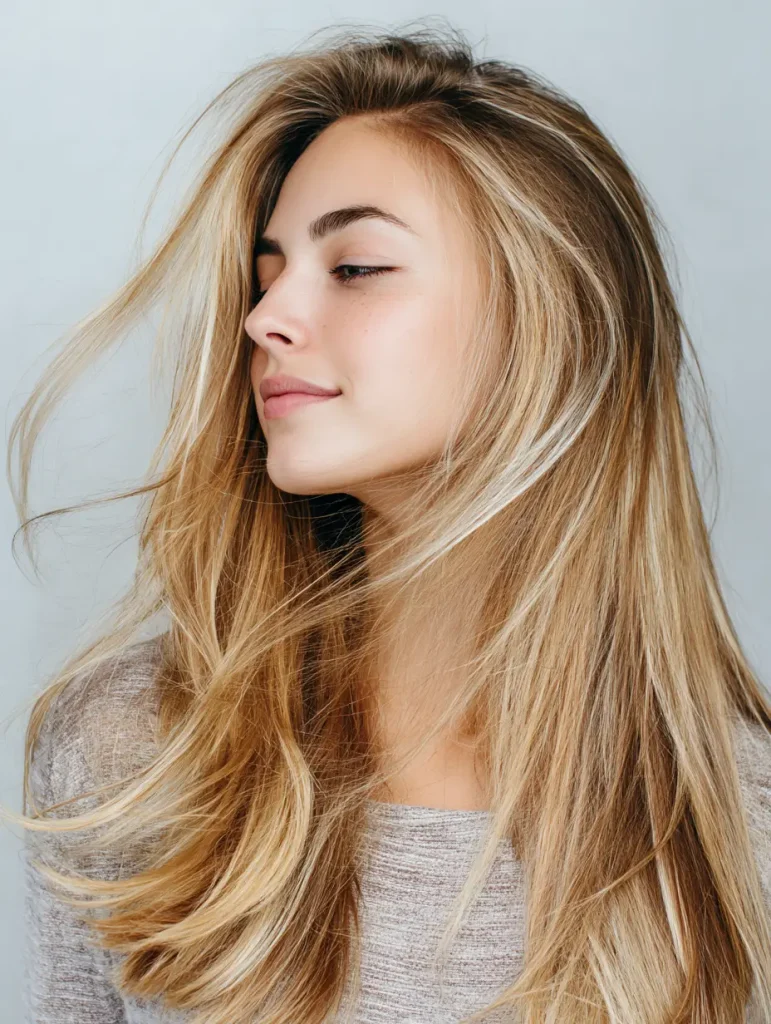
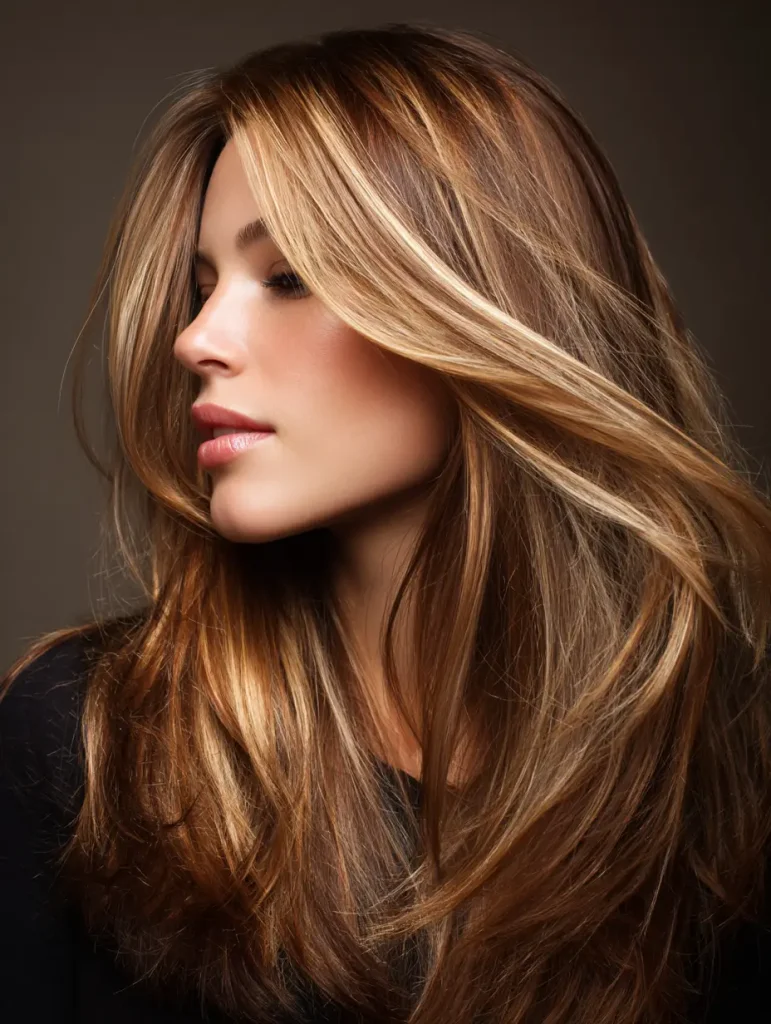
10. Focus on the Face-Framing Pieces
Strategically lightening the pieces around your face adds instant brightness and dimension to your look. These “money pieces” are trendy and effective for lifting your whole appearance, even if you’re only doing a few highlights. Start by sectioning out thin strands near your temples and hairline, and apply the lightener evenly from root to tip. Be careful not to overdo it — less is more when it comes to face-framing highlights.

11. Work in Small Sections
Large chunks of hair can lead to patchy or uneven color. For better results, always highlight in small, manageable sections — about ¼ inch wide or less. This allows for better saturation, more precise placement, and a more natural blend. It also helps you work more cleanly and avoid getting overwhelmed, especially if you’re doing your highlights solo.
12. Time It Right
Timing is everything when it comes to bleach. Too little time and your highlights won’t lift enough; too much time and you risk serious damage. Most kits recommend leaving the product in for 15–45 minutes, depending on your hair color and the lightener strength. Set a timer and check a few test strands as you go. When your hair reaches a pale yellow stage (like the inside of a banana), it’s usually ready to rinse.
13. Rinse Thoroughly
Once your highlights have processed, rinse your hair under lukewarm water for several minutes, making sure all traces of bleach are removed. Use a gentle shampoo — preferably sulfate-free — to cleanse the scalp and hair without stripping it. Be patient with this step; leftover product can continue lightening and may lead to uneven tone or damage.
14. Use a Toner or Purple Shampoo
Highlights sometimes lift to a yellow or orange tone — especially on darker hair — which can look unnatural. A toner helps neutralize these brassy tones and refine the final color. You can use a semi-permanent toner, or if your hair is just slightly warm, a good purple shampoo might be enough. Apply it evenly, leave it on for a few minutes, then rinse thoroughly. Repeat weekly to keep your highlights looking fresh.
15. Deep Condition Afterwards
Highlighting can dry out your hair, especially if it was already color-treated or naturally dry. After rinsing and toning, apply a deep conditioner or hair mask to replenish moisture. Look for products with ingredients like keratin, argan oil, coconut oil, or shea butter. Let the conditioner sit for at least 10–15 minutes, then rinse thoroughly. Make this a weekly habit to keep your strands healthy and soft.
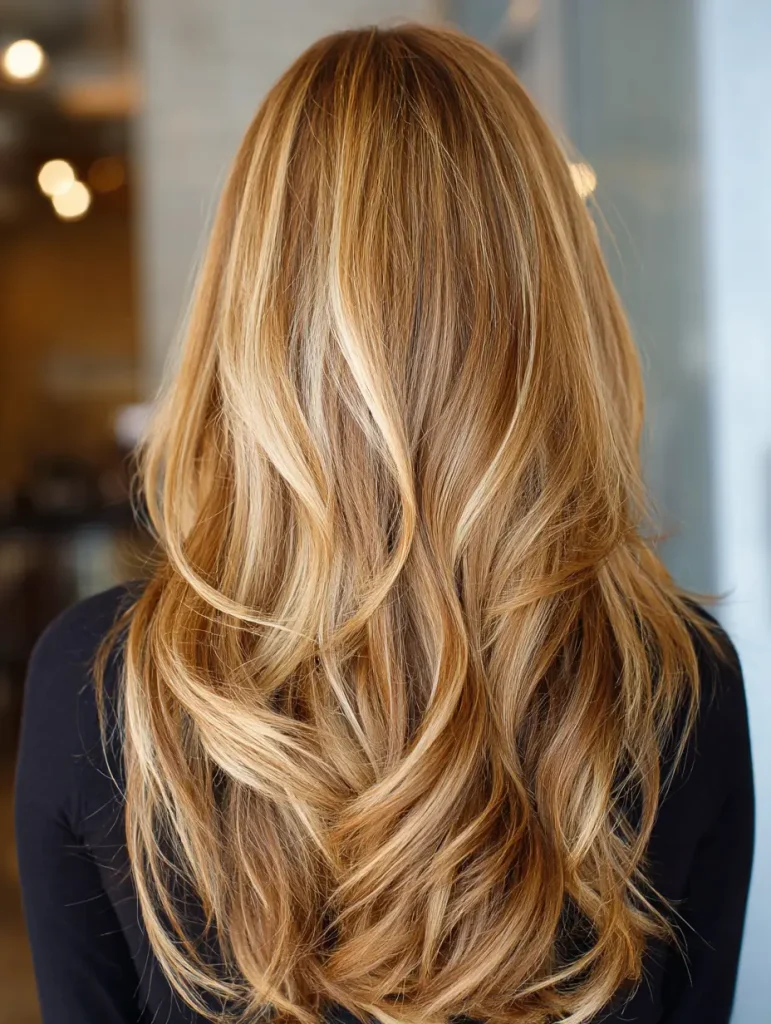
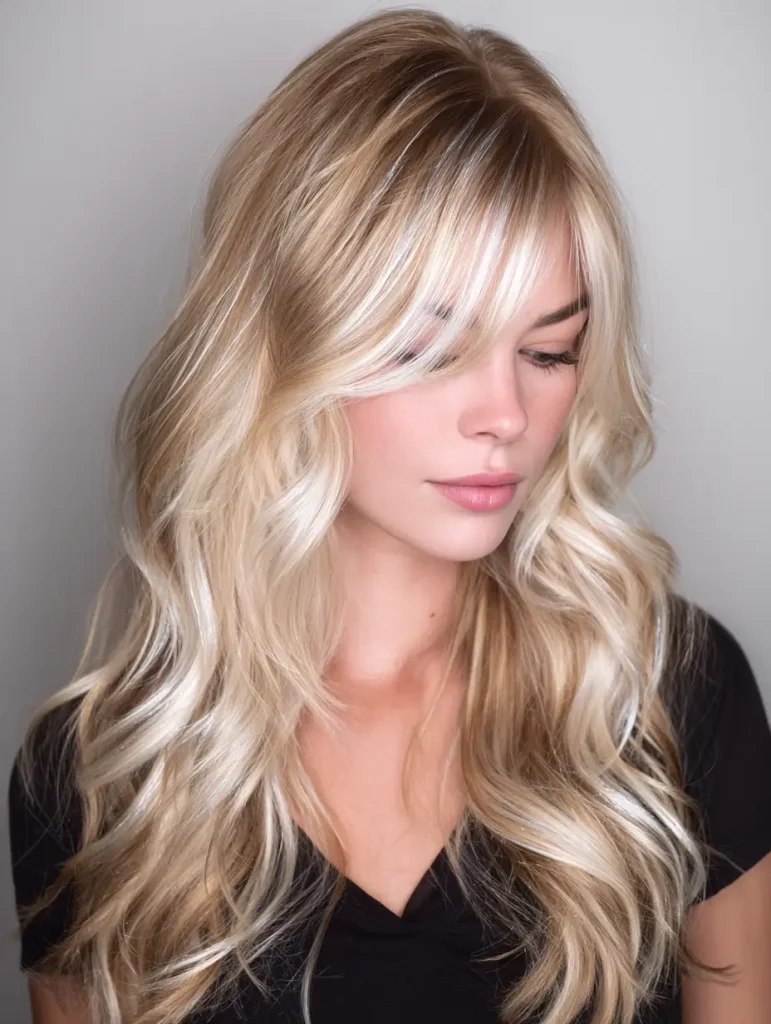
16. Maintain Your Highlights
Good aftercare keeps your highlights vibrant and your hair healthy. Use sulfate-free shampoos, limit heat styling, and apply leave-in treatments or UV-protecting sprays when going out in the sun. Try to wash your hair less frequently, as frequent washing fades color faster. Depending on how fast your hair grows, you might need to touch up your highlights every 6–8 weeks or simply tone them occasionally to refresh the color.
FAQs
Can I highlight my hair at home if I’ve colored it before?
Yes, but proceed with caution. If you’ve used dark or red dye recently, the bleach might not lift evenly, leading to orange or patchy results. Do a strand test first and be ready to tone afterwards. If your hair has multiple layers of color or previous highlights, it may be better to see a professional.
How long should I leave the bleach in my hair?
Typically 15 to 45 minutes, depending on your hair’s starting shade and texture. Always follow the instructions in your kit and monitor the lightening process closely. Leaving it on too long can severely damage your hair.
What if my highlights turn orange or yellow?
This is common, especially for dark-haired individuals. Use a toner (like Wella T18) or a purple/blue shampoo to balance out the brassiness. If you’re not seeing improvement, a second round of toning or help from a professional colorist might be necessary.
How often can I highlight my hair at home?
Every 6–8 weeks is ideal to allow your hair to recover. Highlighting too frequently can lead to breakage, dullness, and thinning. In the meantime, you can tone or refresh the color using gloss treatments or purple shampoo.
Is highlighting safe for all hair types?
In general, yes, but results and risks vary. Fragile, previously processed, or curly hair can be more prone to dryness and damage. If your hair is already damaged, consider using a bond-building product (like Olaplex) during the process and focus on gentle maintenance.
Conclusion
Highlighting your hair at home doesn’t require a cosmetology license — just a bit of care, attention, and the right information. By following these steps and listening to your hair’s needs, you can achieve beautiful, dimensional highlights without ever stepping foot in a salon. Take your time, be gentle, and enjoy the process — because looking good should never come at the cost of your hair’s health.