13 Dutch Braid Tutorials That Make Braiding Easy, Fun, and Totally Wearable
If you’ve ever admired someone’s perfect Dutch braid and thought, “There’s no way I could do that,” you’re definitely not alone. But here’s the good news: Dutch braiding isn’t as intimidating as it looks. With a bit of patience and some step-by-step guidance, you’ll be braiding like a pro in no time.
Dutch braids are essentially an inverted version of the French braid — the difference is that you cross sections of hair under instead of over. This makes the braid pop out from the head, giving it a bold, textured appearance. Whether you’re aiming for a sporty, romantic, or edgy vibe, there’s a Dutch braid look for every mood.
Below are 13 easy-to-follow Dutch braid tutorials you can try at home, even if you’re a beginner. All you need is a brush, a few elastics, and maybe a mirror (or two!).
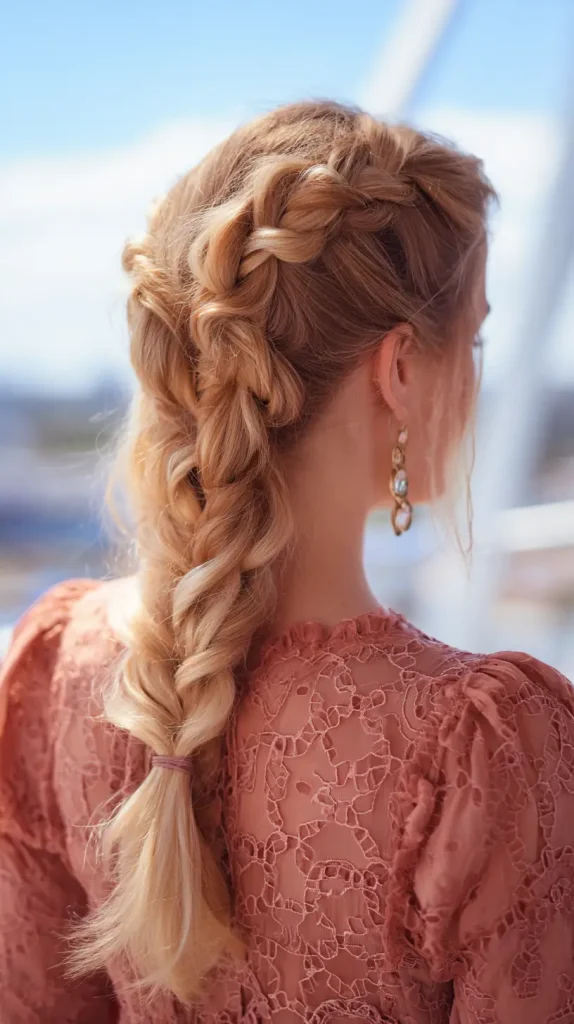
1. Basic Dutch Braid Tutorial
Start with the classic. Part your hair into three sections at the crown of your head, and begin crossing each section under the middle one, adding more hair as you move down. Keep it tight and smooth for a clean finish. This tutorial is ideal for first-timers and forms the base for many other styles.
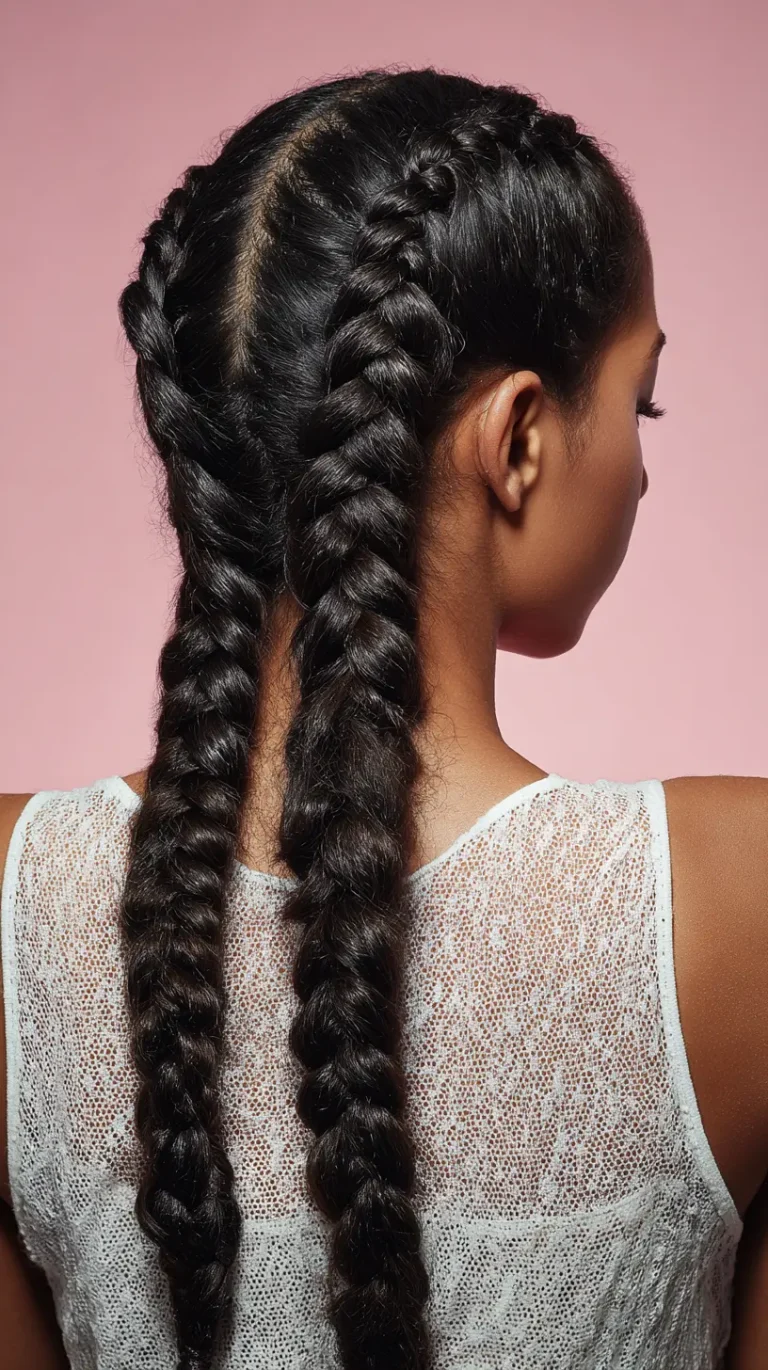
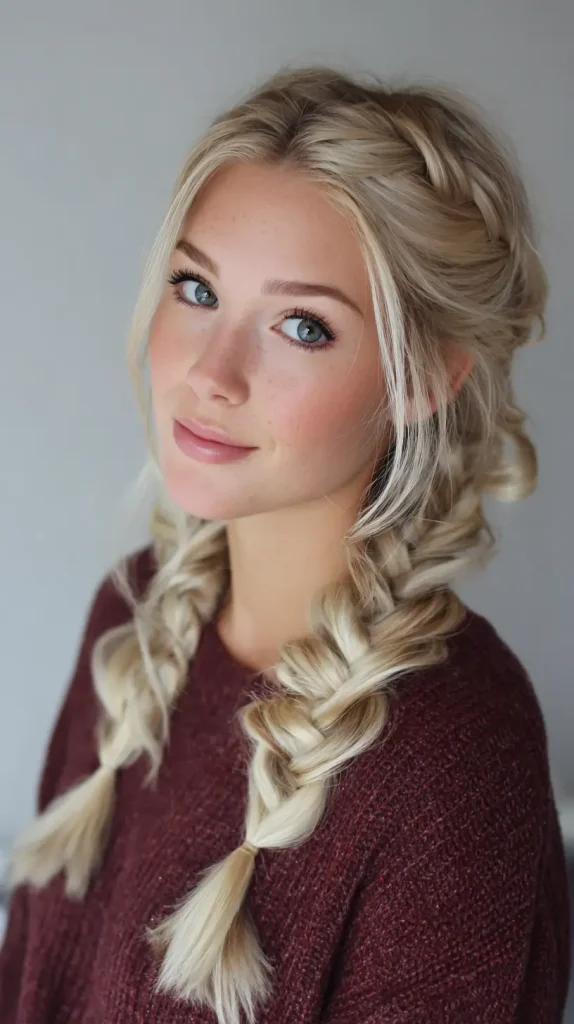
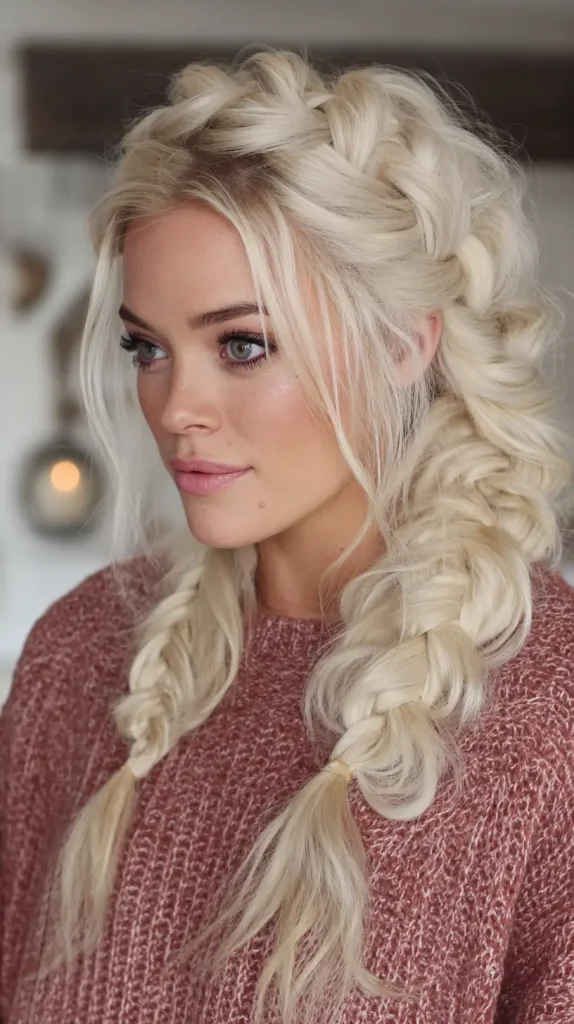
2. Double Dutch Braid Tutorial
Split your hair down the center, and follow the basic Dutch braid method on each side. This look is secure, symmetrical, and great for gym days or keeping cool in summer. It also works really well as a protective style and is beginner-friendly with a bit of practice.
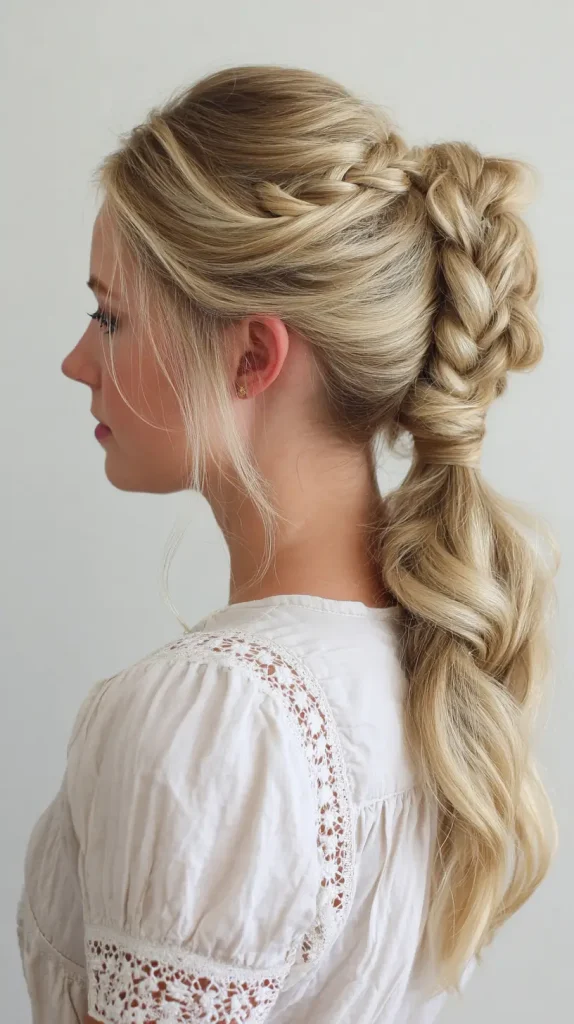
3. Dutch Braid into Ponytail Tutorial
Start with a Dutch braid at the top or side of your head, and once you reach your nape, gather the remaining hair into a ponytail. This look is both sporty and stylish, and it’s quicker than braiding all the way down. Use a clear elastic and wrap a small piece of hair around it for a polished touch.
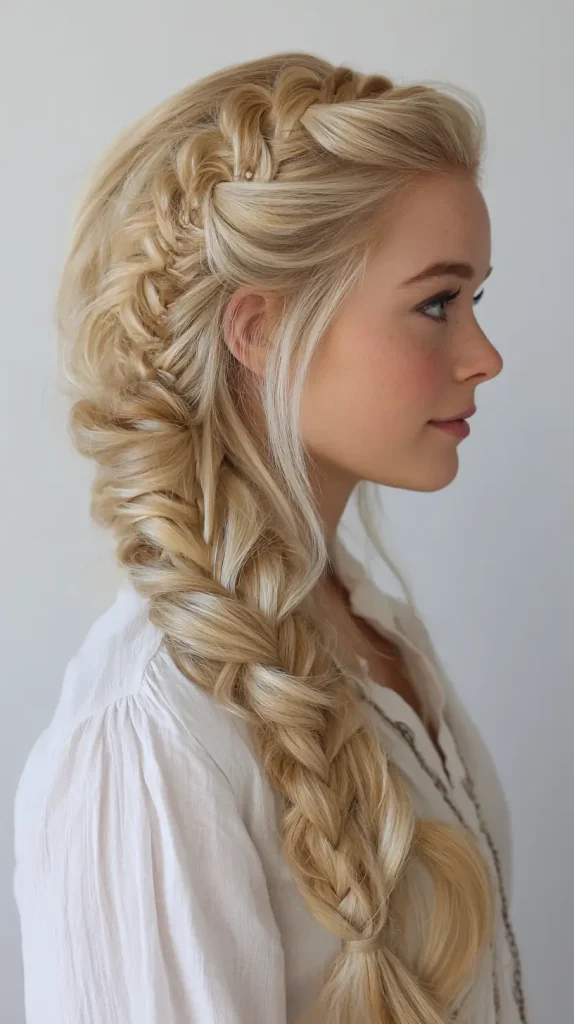
4. Side Dutch Braid Tutorial
Perfect for date nights or soft daytime looks, the side Dutch braid begins near your part and moves diagonally toward one side. It beautifully frames the face and works best with slightly wavy or textured hair. Great with a few loose tendrils around the face for a romantic feel.

5. Dutch Braid Crown Tutorial
To create the crown look, Dutch braid around the edges of your head, starting near one ear and going all the way around. Pin the end under the beginning of the braid to hide it. It’s a little more time-consuming but worth the effort for formal events or bridal looks.

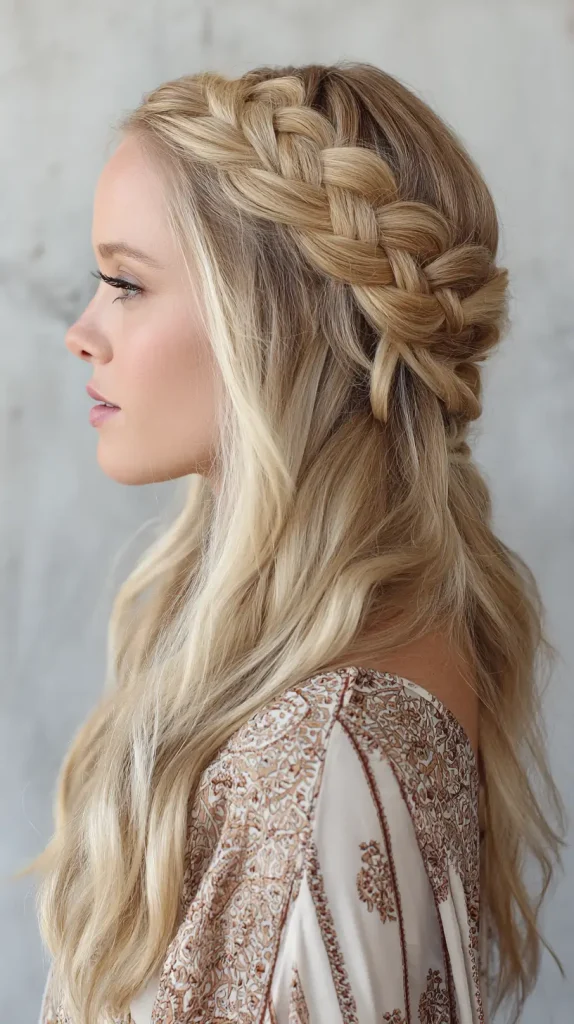
6. Half-Up Dutch Braid Tutorial
Take two sections from the top of your head, one on each side, and braid them using the Dutch technique. Join them together at the back with an elastic or a decorative clip. This half-up style is quick, flattering, and lets you show off your natural texture while keeping your hair out of your face.
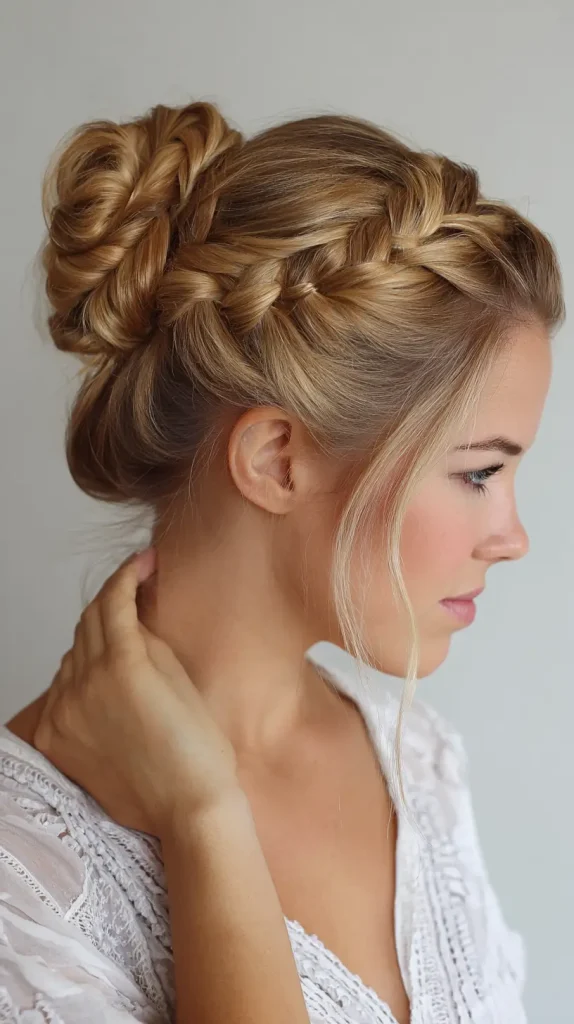
7. Dutch Braid into Bun Tutorial
Start a Dutch braid at the crown and braid to the nape, then twist the rest of the hair into a bun. You can go for a tight, sleek bun for elegance or a messy one for a more relaxed vibe. This is a popular style for formal events and also keeps your hair secure all day.

8. Dutch Fishtail Braid Tutorial
Combine the bold look of a Dutch braid with the delicate feel of a fishtail. Begin with a Dutch braid at the top, then switch to a fishtail technique about halfway down. It’s intricate, eye-catching, and perfect for special occasions or photoshoots.
9. Accent Dutch Braid Tutorial
This mini Dutch braid starts near your part or hairline and adds a subtle detail to any hairstyle — be it down, in a bun, or ponytail. It’s great for adding flair without doing a full braid. Ideal for beginners or days when you want a quick but stylish change.
10. Dutch Braid with Extensions Tutorial
If you want a longer or thicker braid, feed in extensions as you go. Start with a regular Dutch braid and slowly add synthetic braiding hair to each section. This tutorial is perfect for protective styling and allows you to customize the length, thickness, and even color of your braids.
FAQs About Dutch Braid Tutorials
How long does it take to learn how to Dutch braid?
With regular practice, most people can learn the basic Dutch braid in just a few tries. Expect a learning curve of a few days if you’re doing it on yourself. Practicing on a friend or mannequin head first can help.
What should I do if my arms get tired while braiding?
Take breaks! Braiding your own hair can be physically tiring at first. Try sitting down, resting your arms on a table, or using a mirror setup that lets you see without straining.
Are Dutch braids better on clean or dirty hair?
Dutch braids actually hold better on second-day or slightly dirty hair. Clean hair can be slippery, so if your hair is freshly washed, use a texturizing spray or dry shampoo for better grip.
Do Dutch braids damage your hair?
Not if done properly. Avoid braiding too tightly and don’t leave them in for too long. Always detangle before braiding, and moisturize your hair, especially if it’s dry or textured.
Can I sleep in Dutch braids?
Absolutely! Dutch braids are great for overnight wear. In fact, sleeping in them can help you wake up with beautiful heatless waves. Just make sure they’re not too tight and use a satin pillowcase or bonnet to reduce friction.
Conclusion
Mastering Dutch braids opens up a world of styling options — from laid-back weekend looks to elegant updos. The best part? You don’t need a salon or fancy tools to create them. With just a few basic techniques, you can build an entire braid repertoire that suits your style, routine, and hair type.
Whether you’re braiding for function, fashion, or fun, these tutorials are a great place to start. Take your time, be patient with your hands, and don’t worry if your first few tries aren’t perfect — every braid gets better with practice.