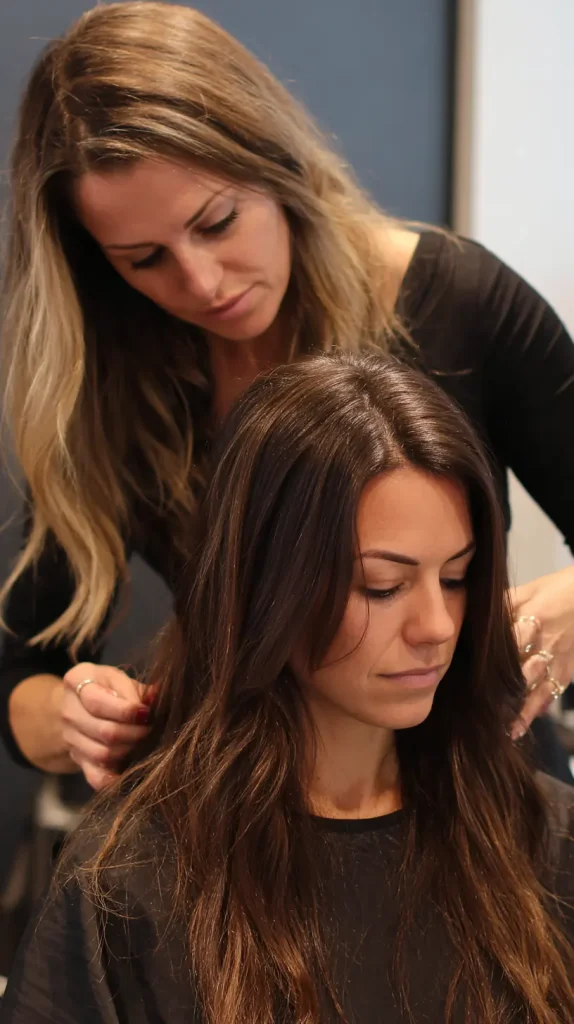
How to Cut Layers in Hair: 15 Effective Steps You Can Do at Home
Giving yourself a layered haircut might feel like something best left to the professionals, but with a little time, the right tools, and a careful hand, you can absolutely do it yourself. Layered hair has a timeless appeal—it adds shape, softness, and movement, making your hair feel fuller and lighter at the same time. Whether you’re looking to breathe new life into long locks, remove some bulk, or just try something fresh, this guide is designed to walk you through each step in a way that feels natural and doable, even if you’ve never cut hair before. No fancy salon terms—just simple, effective techniques that work.
1. Get the Right Tools
Before you begin, it’s important to understand that the tools you use can make or break your haircut. Using kitchen scissors or anything not specifically designed for cutting hair will likely result in frayed, split ends or uneven results. Invest in a good pair of sharp hair-cutting scissors—you don’t need a professional pair, but make sure they’re intended for hair. You’ll also want a fine-tooth comb for precise parting and a wide-tooth comb for detangling, along with sectioning clips or hair ties to divide your hair into manageable parts. A spray bottle filled with water helps you dampen sections as you go, and two mirrors (or one large one and a hand mirror) will allow you to check your progress from different angles. Don’t forget a towel or cape to keep trimmed hair off your clothes.

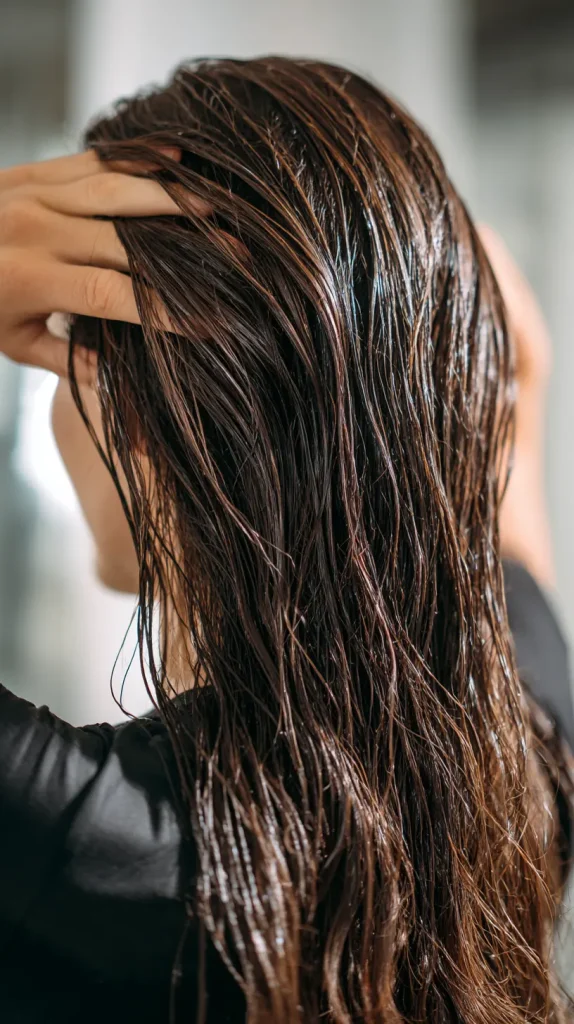
2. Start With Damp, Clean Hair
Cutting hair while it’s damp helps you achieve a more precise result. Dry hair tends to be fluffy or curled at the ends, which can make it harder to measure or cut evenly. After washing your hair with shampoo and conditioner, towel-dry it gently until it’s damp—not dripping, but moist enough to keep it controlled while you cut. Comb it thoroughly to remove tangles. If your hair dries quickly, keep your spray bottle nearby and re-dampen sections as needed. Working on damp hair allows for cleaner lines, and it makes it easier to section, especially if you’re new to DIY haircuts.
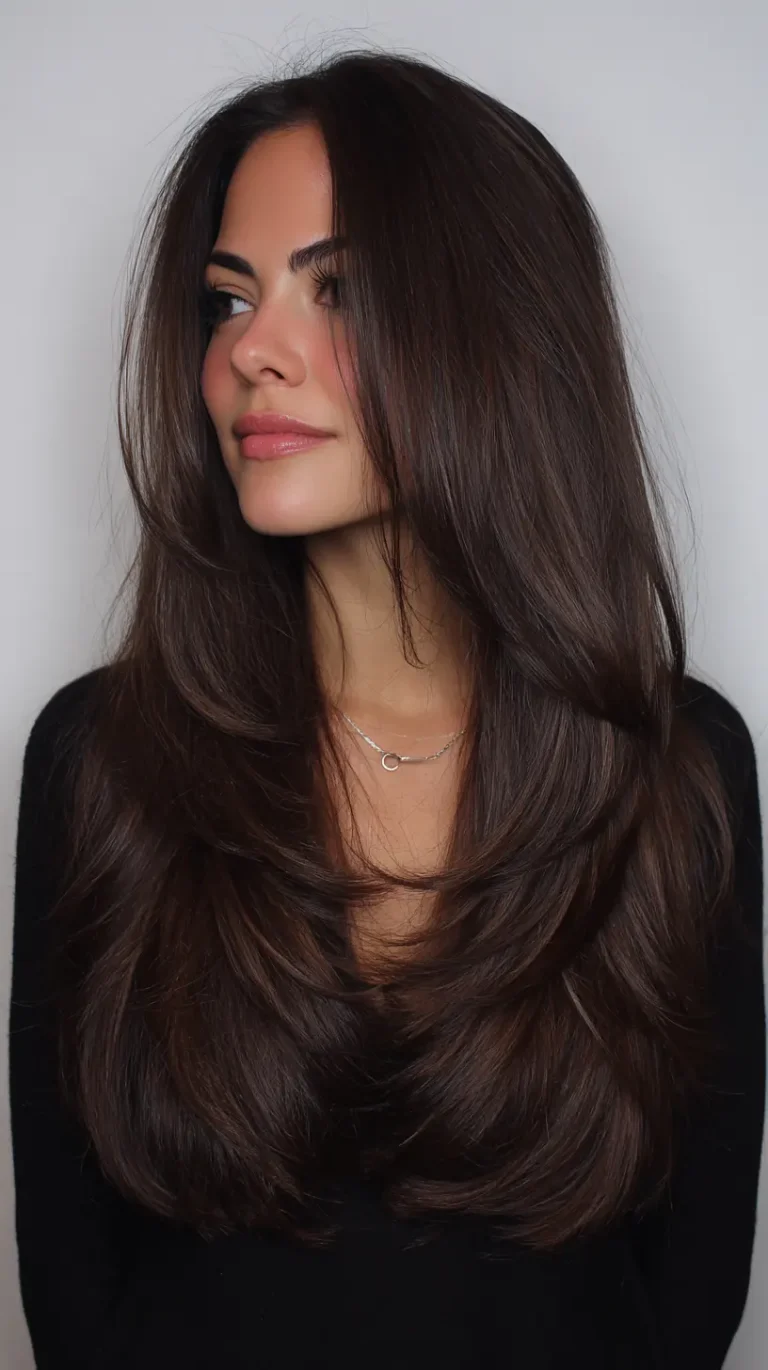
3. Decide on the Type of Layers You Want
Not all layers are created equal. The style of layers you choose will depend on your hair texture, length, and the look you’re trying to achieve. Do you want long, blended layers that give your hair movement without taking away much length? Or are you going for shorter, face-framing pieces that accentuate your cheekbones or jawline? If you have thick hair, layers can help remove bulk and make styling easier. If your hair is fine or thin, layers can add the illusion of volume. Take a few minutes to look at reference photos or styles similar to your hair type to help guide your plan. Remember, subtle layers are easier to build on, while dramatic layers are harder to fix if you go too short.
4. Section Your Hair Properly
Proper sectioning is the secret behind an even, balanced haircut. Start by parting your hair down the middle from the forehead to the nape of your neck, creating left and right halves. Then, from the top of each ear, part across the crown to create a top section. This leaves you with four manageable sections: the top (crown), two sides, and the back. Use clips or hair ties to secure each one. If you’re cutting layers in long hair, you’ll mostly be working from the top down, gradually blending into the bottom layers. Sectioning also helps you stay organized so you can focus on one area at a time without accidentally cutting uneven pieces.
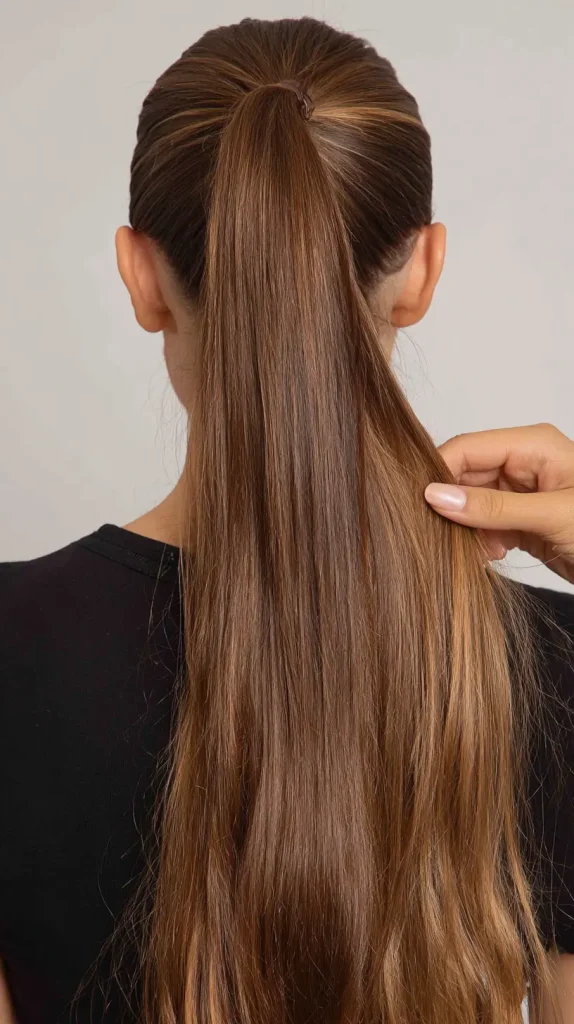
5. Use the Ponytail Method for Beginners
If you’re new to cutting layers and want a quick, beginner-friendly technique, the ponytail method is a great place to start. Here’s how it works: Flip your head forward and brush all your hair into a high ponytail, centered on your forehead. Smooth it out to make sure there are no bumps or twists. This method works because pulling all the hair forward changes the angle at which you cut—so when you snip straight across the ponytail, the hair closest to your face becomes shorter than the hair at the back, creating natural, graduated layers. Once the ponytail is secure, decide how much length you want to take off (start with less than you think), and cut straight across the ponytail. Let your hair down, comb it out, and admire your new soft layers. It’s surprisingly effective.
6. Try the Twist-and-Cut Method for Subtle Layers
If you want a softer, more subtle layered effect, the twist-and-cut method is ideal. Gather your hair into a ponytail at the crown of your head (not as far forward as the previous method), and twist the entire ponytail tightly. Hold the twisted ponytail straight up and snip a small amount off the ends. The twist causes hair from different parts of your head to wrap around each other, naturally creating varying lengths when you cut. This technique gives you well-blended, feathered layers without harsh lines. It’s perfect for people who want a more natural, less dramatic result. You can always repeat the process and take off a little more if needed.
7. Cut Face-Framing Layers Separately
To create those soft, flattering pieces that frame your face, you’ll want to cut them separately from the rest of your layers. Start by parting a small triangular section at the front of your hair, roughly from the top of one eyebrow to the other, down to the front of your ears. Comb this section forward, and decide where you want the shortest layer to fall—usually around the chin, cheekbones, or lips, depending on your face shape. Starting from the shortest point near your face, cut at a slight downward angle toward the longer pieces. Repeat on the other side, doing your best to match the angle and length. These face-framing layers can make a big difference—they soften your look, draw attention to your features, and add shape without taking away overall length.
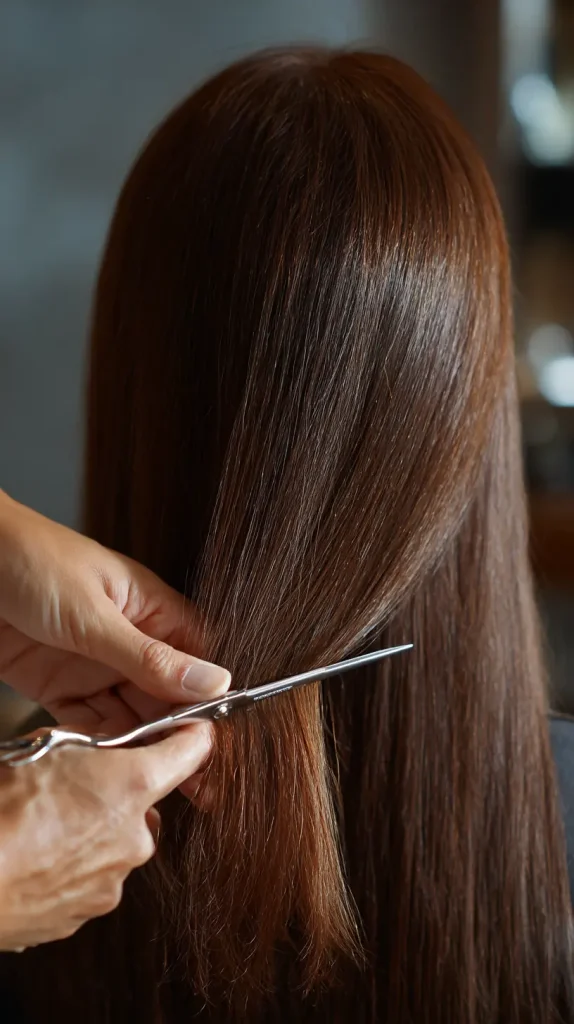
8. Trim Slowly and Check Often
Patience is everything when cutting layers. After each cut, stop and comb your hair out to see how it’s falling. Use a handheld mirror or check the back with a second mirror. Don’t rush through the process, especially if you’re unfamiliar with how your hair reacts to being cut. Everyone’s hair texture behaves differently—what looks like a short snip on wet hair can appear significantly shorter when dry. Cut in small sections and make tiny trims instead of big cuts. If you’re unsure about how much to remove, err on the side of caution. You can always take off more later, but you can’t put it back once it’s gone.
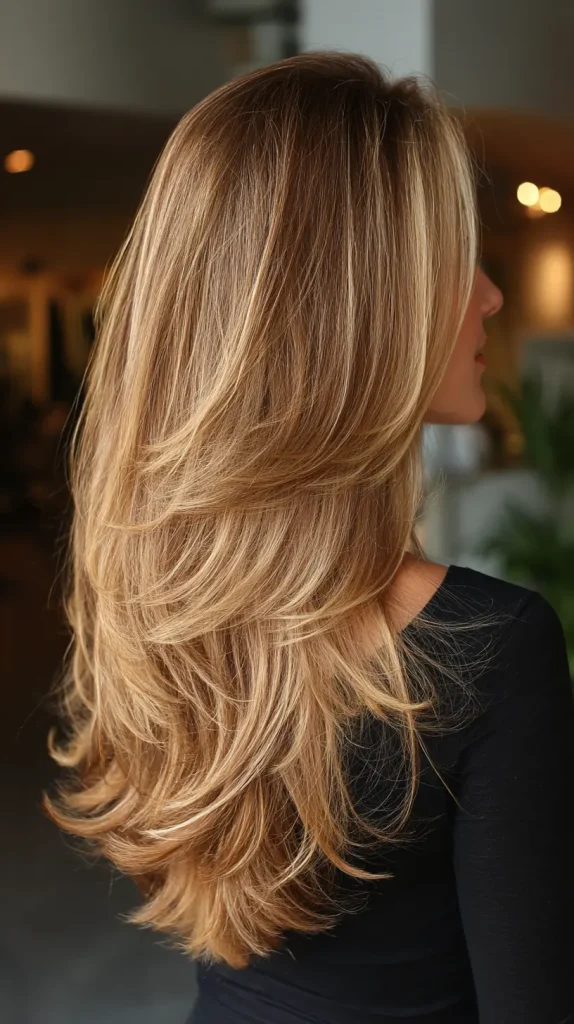
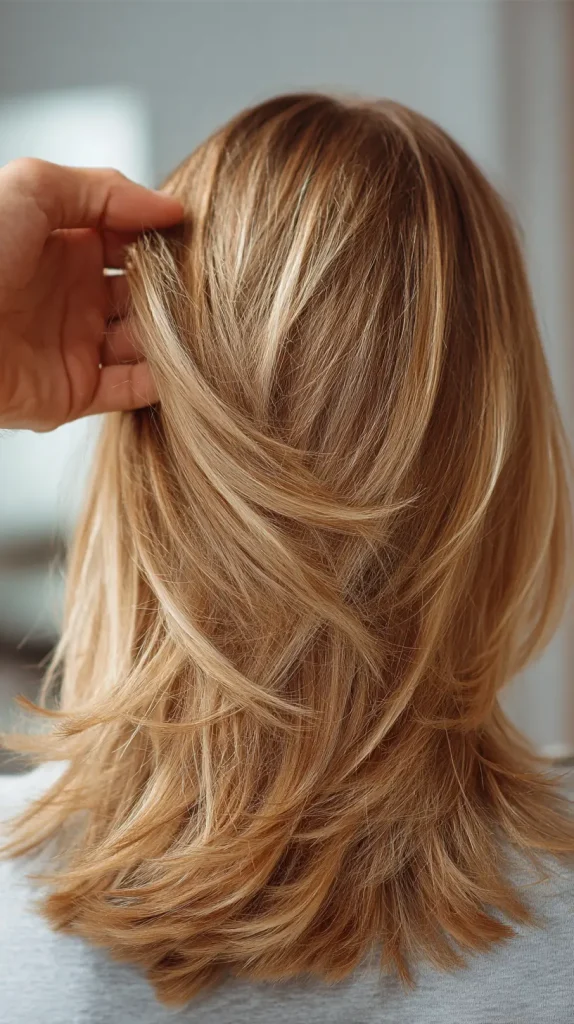
9. Blend the Layers
Once the main layers are in place, you’ll want to blend everything together so there are no choppy lines or abrupt transitions. This is where point-cutting comes in—a technique that softens the edges and adds movement. Hold a small section of hair between your fingers and instead of cutting straight across, angle your scissors vertically and snip small notches into the ends. This removes bulk from the tips and prevents a blunt, helmet-like shape. Repeat this around your head, focusing especially where different lengths meet (like the face-framing area and crown). Blending is what makes your haircut look polished rather than DIY.
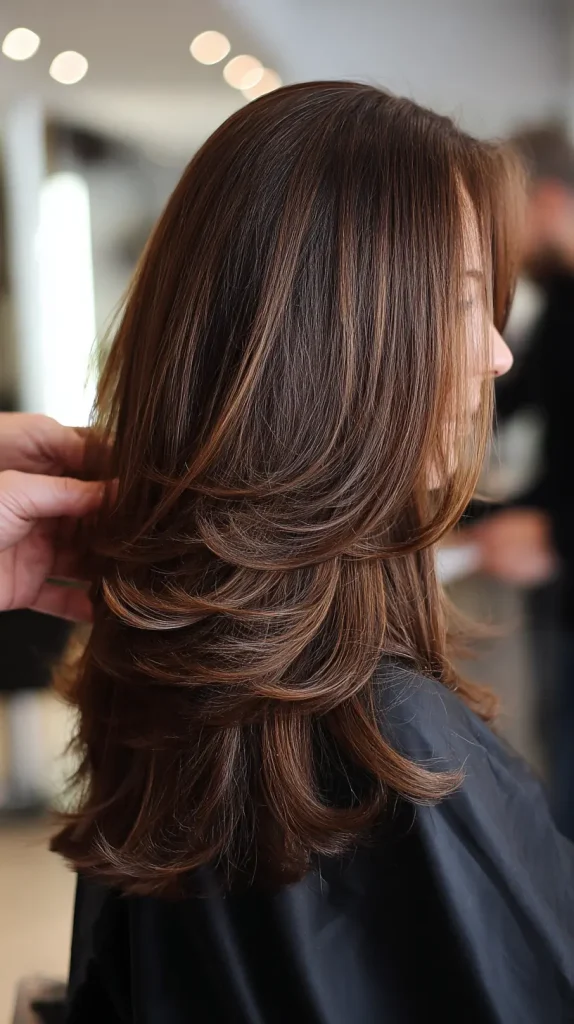
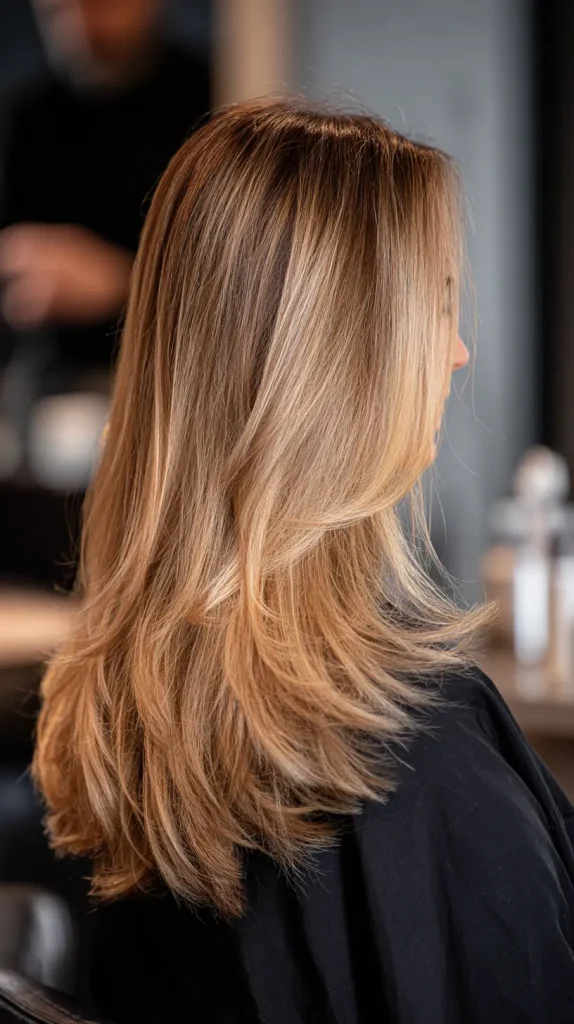
10. Style and Assess
Once you’re done cutting, it’s time to see the final result. Dry and style your hair the way you normally would—blow-drying with a round brush, air drying, or diffusing if you have curls. Styling helps you see how the layers move and settle. Sometimes what looks uneven while wet or unstyled ends up looking great once your natural texture returns. After drying, check for any uneven spots or overly long sections that might need a little extra snip. Don’t be afraid to fine-tune. Remember, the goal isn’t perfection—it’s creating a look that feels fresh, light, and flattering to your features.

FAQs
Can I cut layers into curly or wavy hair?
Yes, but it requires a different approach. Curly and wavy hair often looks shorter when dry, so it’s better to cut it while it’s dry or just slightly damp to avoid accidentally going too short. Cut curl by curl if possible, and always follow the natural shape of your hair. Curls tend to hide mistakes better, but they also shrink, so be conservative with your cuts.
How often should I trim my layers?
To keep layers looking fresh and healthy, trim them every 8 to 12 weeks. If your hair grows quickly or tends to get dry at the ends, you might want to trim a little sooner. Regular trims help prevent split ends and maintain the shape of your haircut.
What if I make a mistake while cutting?
If you make a small mistake, try not to stress—it happens, and it’s usually fixable. Use point-cutting to blend any sharp lines or uneven sections. If you take off too much on one side, try to match the other side rather than cutting everything shorter. Worst case, you can visit a stylist for help correcting it, and now you’ll know what to do differently next time.
Is it better to cut layers on wet or dry hair?
It depends on your hair type and comfort level. Wet hair is easier to manage and section, especially for straight or slightly wavy textures. Dry cutting works better
Conclusion
How to Cut Layers in Hair
Cutting layers in your hair at home can be a rewarding experience when done carefully and patiently. With the right tools, proper sectioning, and the techniques outlined above, you can achieve beautiful, natural-looking layers that add volume and movement to your hair. Remember to start slowly, trim little by little, and always check your progress as you go. Whether you prefer subtle face-framing layers or more dramatic styles, practicing these steps will help you build confidence and master the art of layering your hair yourself. Most importantly, don’t stress if it’s not perfect—hair grows back, and every cut teaches you something new!