How to Cornrow Hair Step by Step: A Simple Guide for Beginners
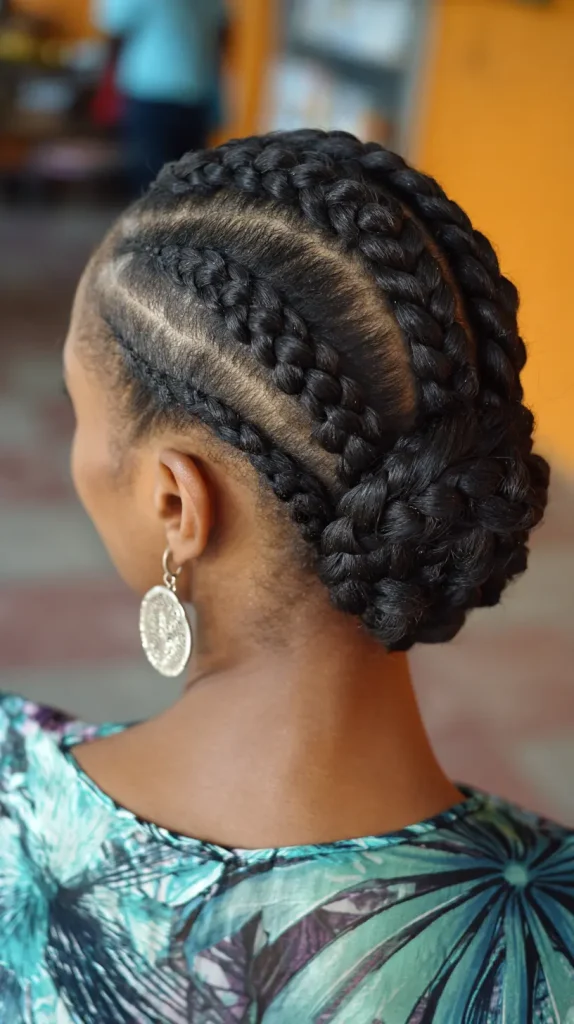
Cornrows are more than just a hairstyle—they’re a form of art and a cultural expression that’s been passed down for generations. These braids are done close to the scalp in straight lines or creative patterns, making them a versatile and protective style. Cornrows can last for days or even weeks, making them a low-maintenance option once completed. For many, learning how to cornrow is both a practical skill and a meaningful connection to heritage. Even if you’ve never braided before, you’ll find this step-by-step guide approachable and beginner-friendly. All it takes is patience, practice, and a willingness to learn.
1. Prepare Your Hair
The foundation of neat, long-lasting cornrows begins with properly prepped hair. Start by washing your hair with a moisturizing shampoo and conditioner to remove any product build-up, dirt, or oil. Clean hair is easier to manage and helps the braids hold better. Once your hair is clean, apply a leave-in conditioner or a lightweight oil like coconut or argan oil to hydrate the strands and reduce friction while braiding. If your hair is thick or very curly, consider stretching it using braiding, blow-drying, or banding techniques. Detangle thoroughly with a wide-tooth comb to ensure your hair is smooth and free from knots. This will make sectioning easier and reduce breakage during the braiding process.
2. Gather Your Tools
Having the right tools at hand can make a huge difference, especially if you’re learning. You’ll need a rat-tail comb for making precise parts—this helps your cornrows look clean and symmetrical. Hair clips or sectioning bands will help you keep parts separated and prevent mixing up strands. Use a styling gel or edge control to smooth flyaways and keep the braid clean and defined. A spray bottle with water is also useful for keeping your hair moist if it begins to dry out mid-process. If you’re braiding your own hair, position two mirrors—one in front and one behind—so you can see the back of your head clearly. Comfortable seating and good lighting will also make the experience more enjoyable and effective.
3. Section the Hair for Cornrows
This step is where structure and planning come in. Decide how many cornrows you want and the direction they will go—straight back, curved, or in a design. Use your rat-tail comb to make straight, clean parts starting at the front of your head and extending to the nape of your neck. It helps to begin in the middle and work your way outward for symmetrical results. Clip away the hair you’re not working with to stay organized. The width of each section determines the size of each braid; thinner sections create smaller, more intricate braids, while wider sections are faster and easier but give a chunkier look. Don’t rush this step—neatly parted hair is what gives cornrows that sharp, defined appearance.
4. Start the First Cornrow
Pick up a small triangle of hair at the front of your first section—this will be your starting point. Divide this into three equal strands. Begin braiding by crossing the right strand under the center, then the left under the center, just like a standard braid. However, as you go along, you’ll start adding small pieces of hair from the section into each outer strand before crossing it under the center strand. This process, known as “feeding in,” anchors the braid tightly to your scalp and creates the signature raised effect of a cornrow. The motion may feel awkward at first, but with repetition, your hands will get used to the pattern.
5. Continue Adding Hair and Braiding
As you continue braiding, be sure to add hair evenly and in small amounts to maintain a smooth and consistent look. Each time you grab a new section of hair to add, comb it through briefly to keep the braid neat and tangle-free. Try to keep an even tension as you work—too tight and it may cause discomfort or damage to your scalp, too loose and the braid may unravel. Your hands will need to stay close to the scalp at all times. It may help to watch your hands in a mirror to understand how the braid is forming and to spot any lumps or unevenness early. Keep your motions slow and deliberate, especially as you’re learning.
6. Finish the Cornrow
Once you reach the end of your scalp and there’s no more hair left to feed in, continue braiding the rest of the hair in a standard three-strand braid. You can either leave the ends hanging or secure them with a small elastic band to prevent unraveling. If your hair is very curly or silky, you might want to dip the ends in hot water (carefully) to seal them—this is common practice for synthetic braiding hair, but not always necessary for natural hair. Repeat the entire braiding process on the remaining sections of hair, maintaining symmetry and consistency for the best final look.
7. Style and Maintain Your Cornrows
Now that your cornrows are done, it’s time to keep them looking fresh. Lightly apply a nourishing oil or scalp spray every few days to keep your scalp moisturized and prevent itching. At night, cover your head with a satin scarf or bonnet to reduce frizz and protect the style. Avoid excessive touching, pulling, or scratching, as this can loosen the braids prematurely. Depending on your hair texture and maintenance routine, cornrows can last anywhere from one to three weeks. When it’s time to take them out, be gentle—use your fingers or a pointed comb, and take your time to avoid breakage or damage to your natural hair.

FAQs
How long do cornrows last?
Cornrows can last between 1 to 3 weeks with proper care. If you moisturize your scalp, cover your hair at night, and avoid friction, they can stay neat even longer. However, it’s important to let your scalp rest between styles to prevent tension-related damage.
Can I cornrow my own hair?
Yes, but it takes practice. Start with larger braids and use mirrors to check your progress. Over time, your hands will get used to the pattern, and you’ll become faster and more accurate.
Is cornrowing painful?
Cornrowing should never be painful. If your scalp feels sore or too tight, the braid may be pulling too much. Always communicate if someone else is braiding your hair, and be gentle if you’re doing it yourself.
Can I add extensions to cornrows?
Yes, adding braiding hair can enhance the length and thickness of your cornrows. It also helps the style last longer. Just make sure to use lightweight extensions to avoid excess tension.
How do I keep my cornrows neat?
Keep your scalp moisturized with oil or braid spray, sleep with a satin scarf or bonnet, and avoid frequent manipulation. You can also refresh edges with gel if needed.
Do cornrows damage hair?
Cornrows are a protective style when done properly. The key is not to braid too tightly and to give your hair time to breathe between styles. Overuse without breaks can lead to breakage or thinning.
Conclusion
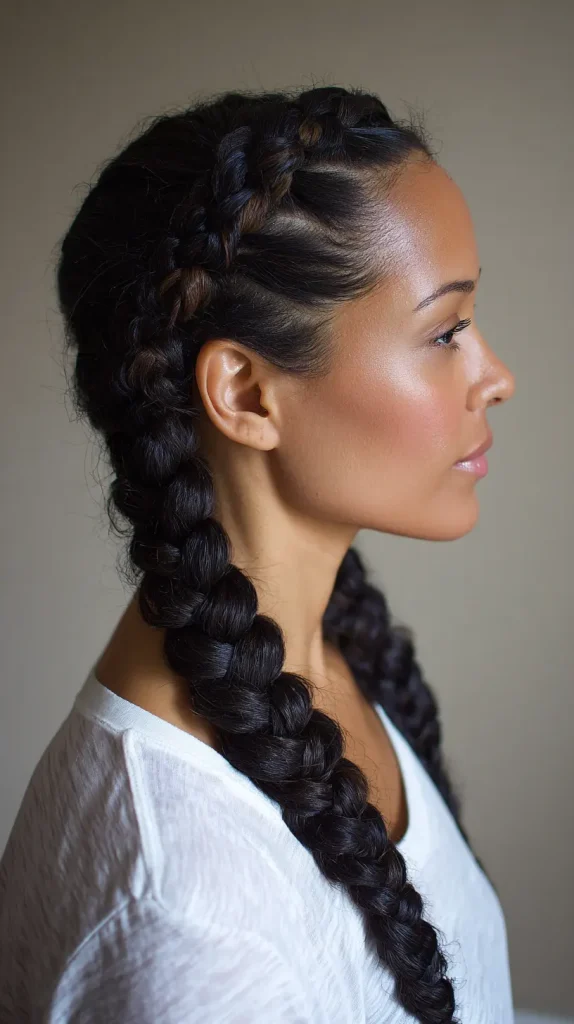
How to Cornrow Hair Step by Step
Cornrows are more than just a hairstyle—they’re a beautiful tradition and a practical way to protect and style your hair. Learning how to cornrow step by step allows you to take control of your hair care and explore endless creative looks. Whether you’re preparing your own hair or helping someone else, remember that neatness comes with practice. Take your time, be gentle with your scalp, and focus on healthy hair habits. With the right technique and care, cornrows can be a go-to style that blends fashion, function, and heritage all in one.