How to Cut Layers at Home
Layered haircuts are a classic go-to style for adding volume, shape, and texture to your hair. Whether you have long, straight strands or thick, wavy locks, layers can completely transform your look without sacrificing too much length. But heading to the salon every few months for a trim or touch-up can be time-consuming and expensive. The good news is that you don’t always need a professional stylist to get soft, stylish layers. With the right tools, a little patience, and a solid plan, cutting layers at home can be safe, easy, and even fun. This step-by-step guide will walk you through the process in a way that’s beginner-friendly and realistic—even if you’ve never picked up haircutting scissors before.
What You’ll Need
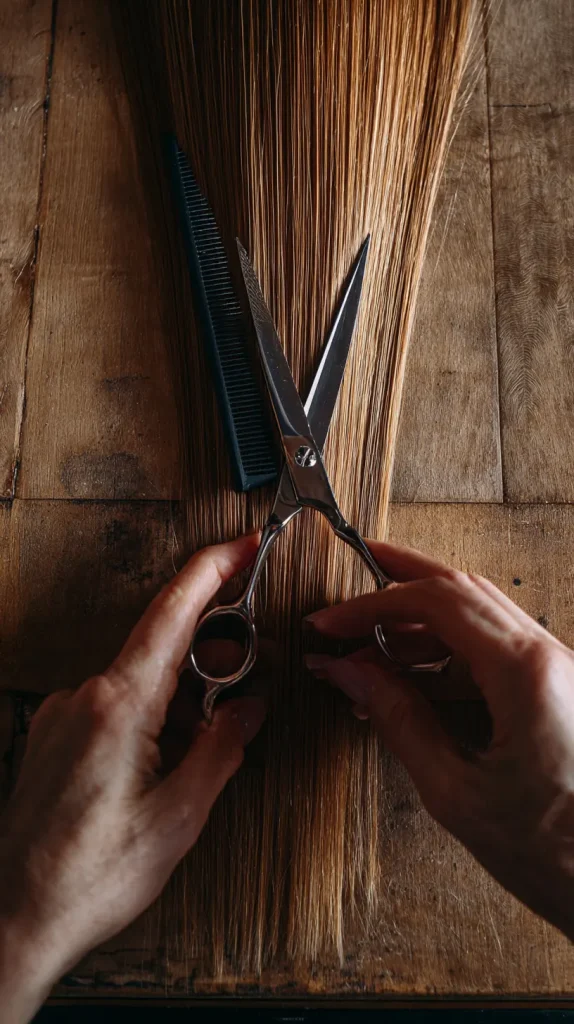
Before you start snipping away, it’s important to gather all the essential tools you’ll need to ensure a clean, controlled cut. Using the right equipment not only makes the job easier but also gives you more professional-looking results. Here’s your checklist:
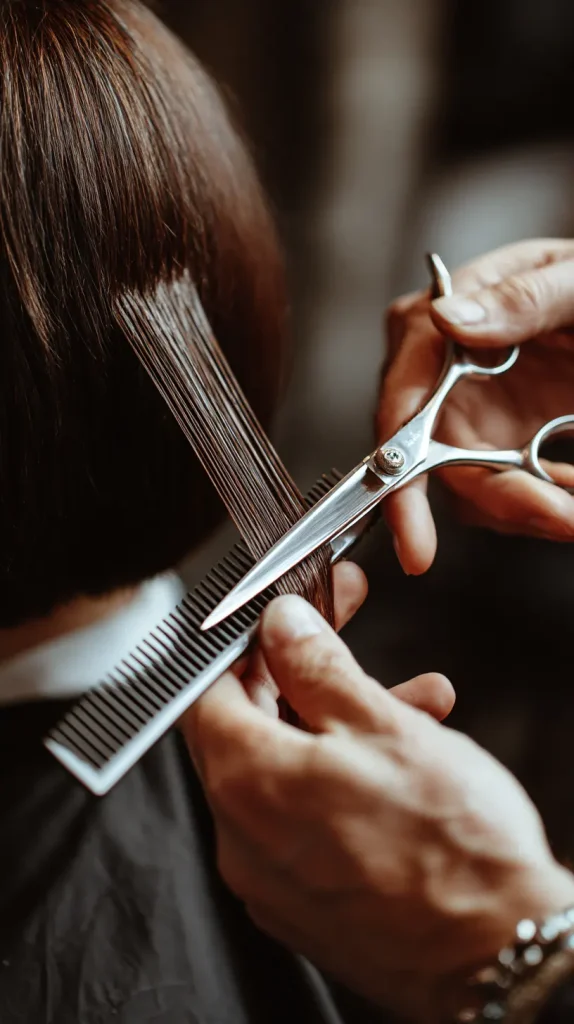
- Hair-cutting scissors: Regular household scissors are a big no—they’re dull and can create jagged, uneven cuts that damage the hair shaft. Invest in a sharp pair of salon-grade shears.
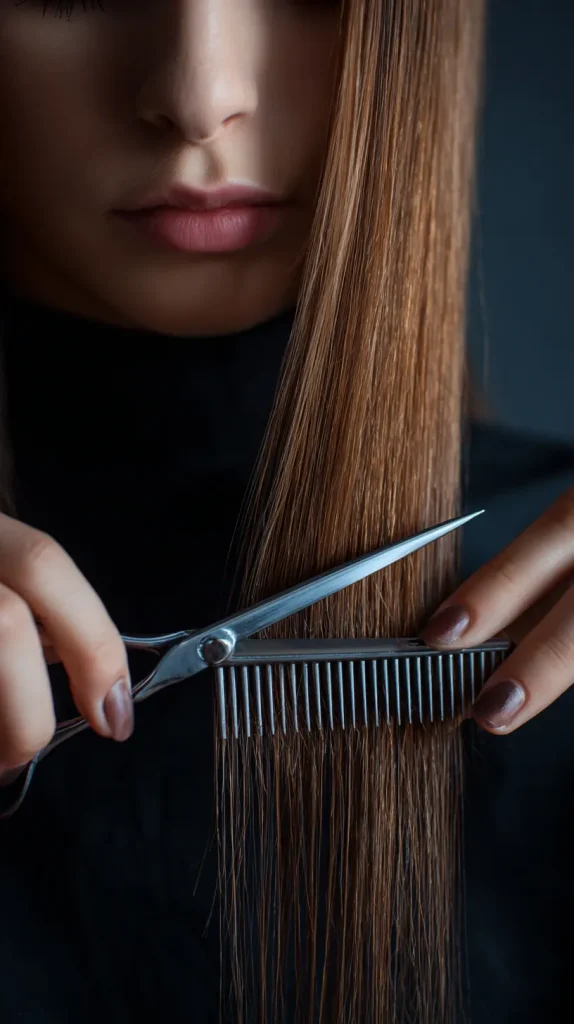
- Fine-tooth comb: This helps you achieve precise partings and keep your hair smooth as you work through each section.
- Hair clips or ties: These are useful for sectioning your hair, which is key for staying organized during the process.
- Spray bottle with water: Keeps your hair damp while you work, especially if it starts to dry out.
- Mirror setup: Ideally, use a second mirror or a handheld mirror so you can see the back of your head and ensure symmetry.
- Cape or towel: To protect your clothes and make cleanup easier.
Having all of this nearby will prevent unnecessary interruptions and help you stay focused from start to finish.
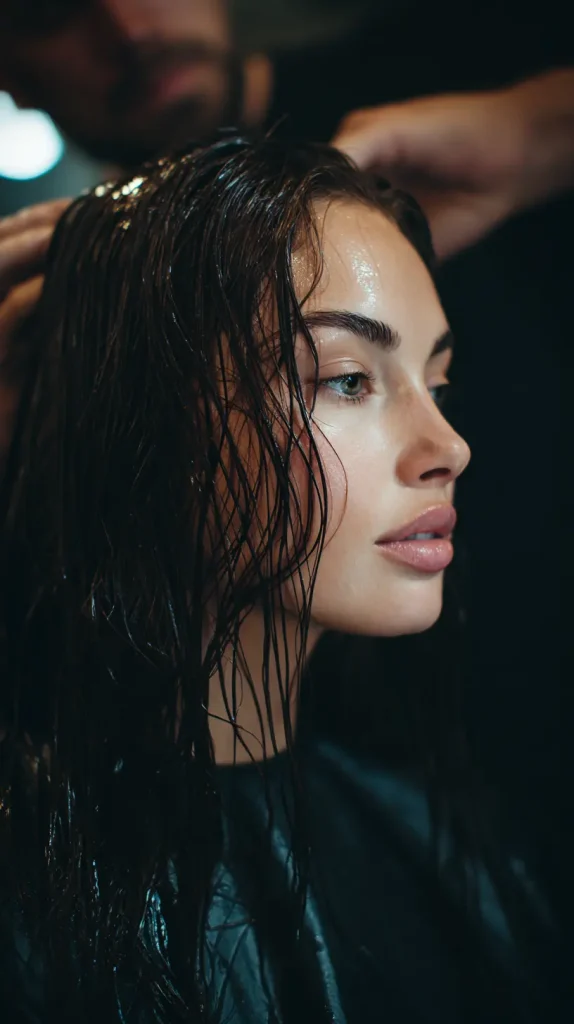
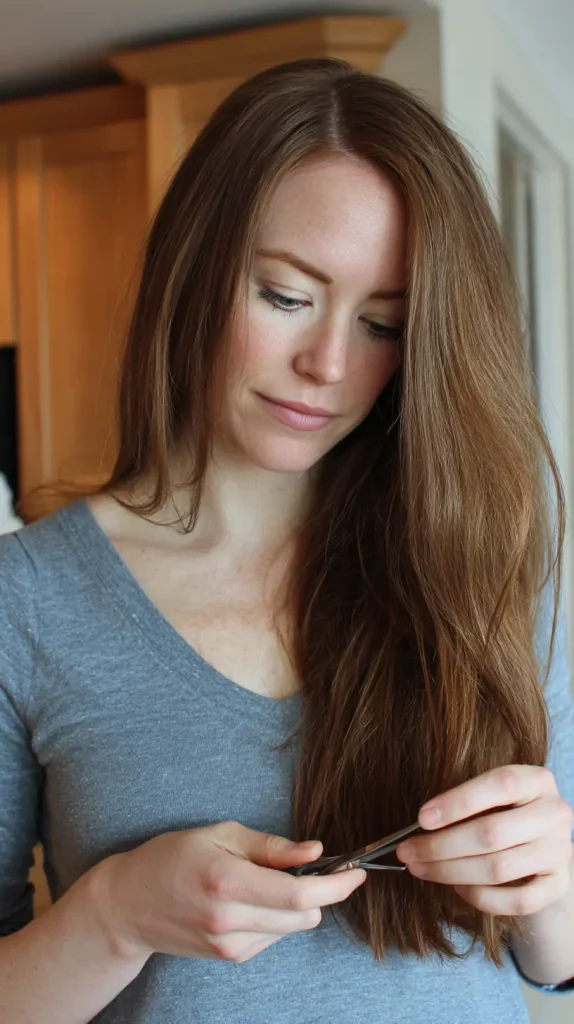
Step 1: Start with Clean, Damp Hair
Your first step is to wash and condition your hair as you normally would. Clean hair is easier to section and comb through, and damp hair gives you more control while cutting. When your hair is freshly washed and slightly wet, it lies flatter and allows you to see the natural fall and texture, which is especially helpful when cutting layers. Use a microfiber towel to blot excess water and prevent frizz, then detangle your hair with a wide-tooth comb or brush. If your hair begins to dry as you work, use your spray bottle to re-moisten it so that the tension remains consistent.
Step 2: Decide on the Type of Layers
Not all layered haircuts are created equal, so take a moment to think about the kind of look you want. Are you after subtle movement throughout the length? Do you want to frame your face and draw attention to your features? Or are you going for a more edgy, choppy texture?
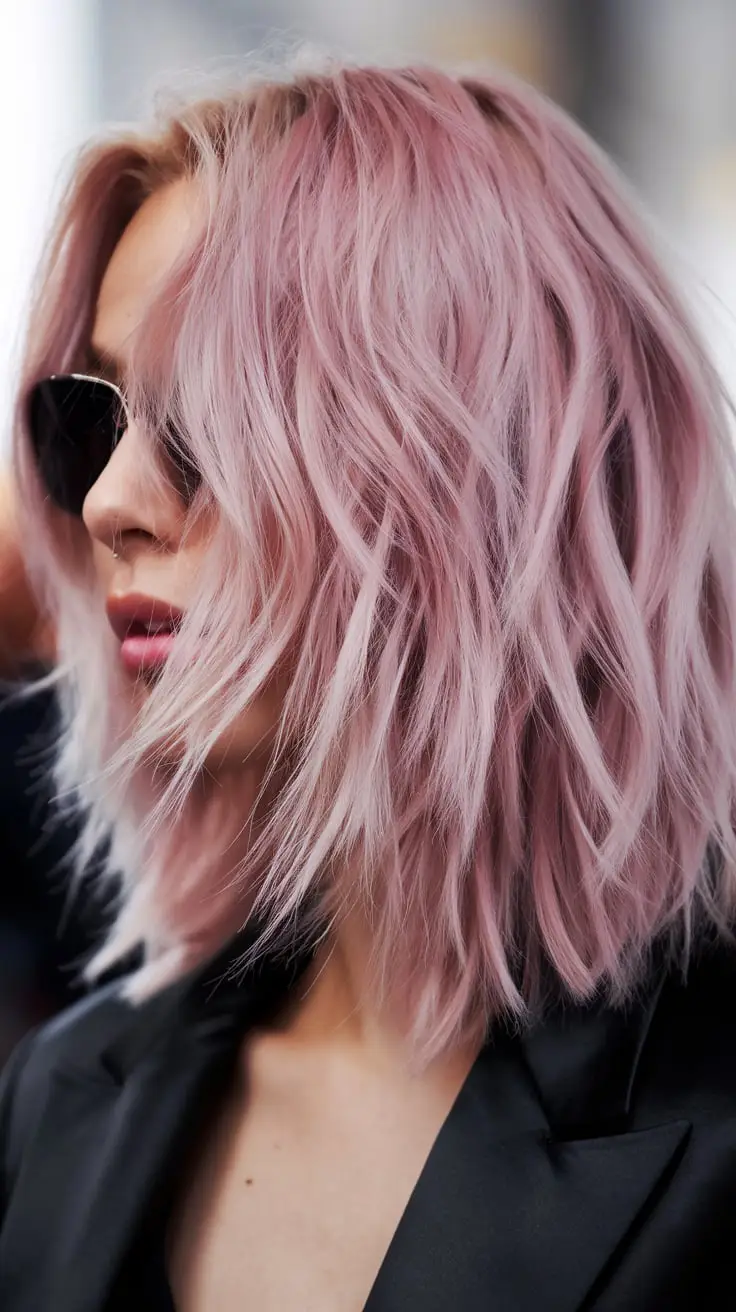
- Long layers add softness and body to longer hair, making it feel lighter and more dynamic without a drastic change in length.
- Short layers tend to create a more voluminous, bouncy effect and can be great for thin or flat hair that needs a lift.
- Face-framing layers are perfect if you want to draw attention to your cheekbones or jawline, or soften angular features.
Having a mental image or even a reference photo can help guide you. If you’re unsure, start with longer, subtler layers—you can always go shorter later.
Step 3: Section Your Hair
This step is all about organization. Neatly sectioned hair is much easier to work with and will prevent accidental uneven cuts. Start by parting your hair down the middle, creating a left and right half. Then, split each half horizontally into a top and bottom section—this gives you four total sections to work with.
Clip each section separately using sectioning clips or elastic bands. If your hair is very thick or long, you might want to divide it into even smaller sections to stay in control. Think of it like creating a map of your head: the clearer the layout, the smoother the haircut.
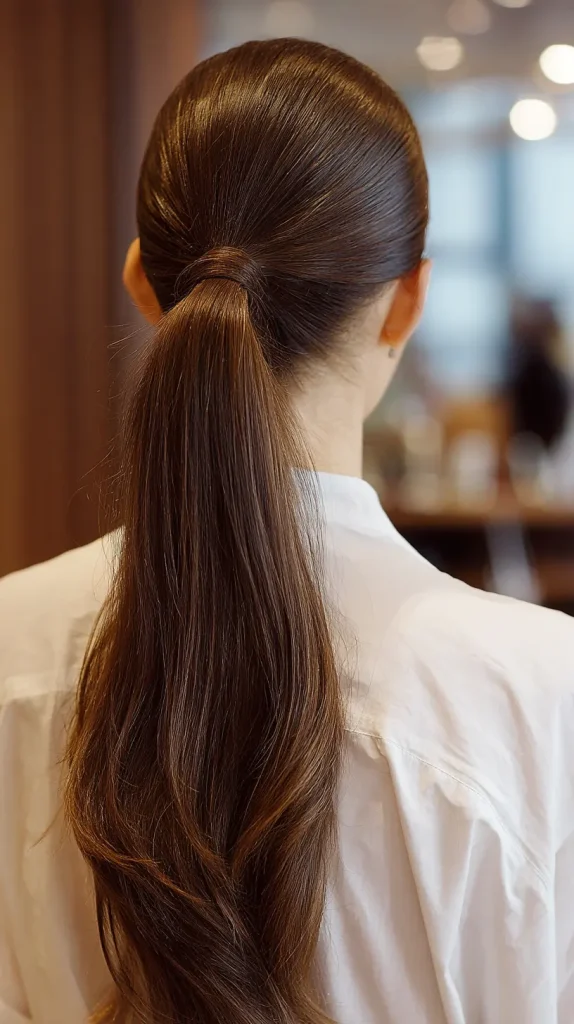
Step 4: The Ponytail Method for Easy Layers
This method is one of the simplest and most popular DIY techniques for creating layers at home. It’s great for beginners and ideal for long or medium-length hair.
- Flip your head forward so your hair is hanging upside down.
- Comb all your hair toward the front and secure it into a ponytail right at the center of your forehead, just above your brows.
- Hold the ponytail straight out and decide how much you want to cut. Start small—1 to 2 inches is enough to make a noticeable difference.
- Cut straight across the ponytail. For a softer look, point-cut by holding the scissors vertically and snipping into the ends in a V-motion.
When you let your hair down, you’ll notice a natural layering effect, with shorter pieces around the face and longer pieces toward the back. This method works by redistributing the length from front to back, so it’s great for adding soft, graduated layers without needing to section and cut each part individually.
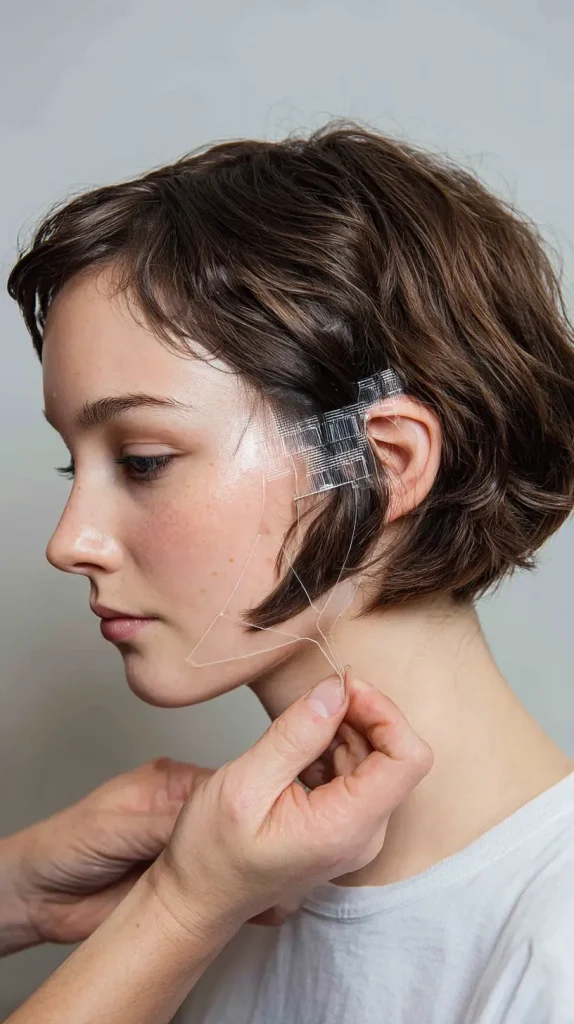
Step 5: Add Face-Framing Layers (Optional)
If you want to enhance your facial features or simply like the look of shorter pieces around your face, you can cut some gentle face-framing layers. Here’s how:
- Take a small triangle section of hair on each side of your face, starting from your part and ending just behind your ears.
- Comb each section forward, and pinch the hair at the desired length—this could be chin-length, cheekbone-level, or wherever you prefer.
- Cut at a downward diagonal angle, moving from shorter in the front to longer toward the back. Use small, controlled snips to avoid taking off too much.
Face-framing layers add a soft, feminine touch to any haircut and are especially flattering if you wear your hair in waves, curls, or loose styles.
Step 6: Check and Even Out
Once all your layers are cut, it’s important to do a thorough check. Dry your hair completely—either air dry or use a blow dryer—and examine it from every angle. Use your second mirror to look at the back and sides. Run your fingers through your hair to feel for any uneven areas, bulky sections, or spots where the layering isn’t blending smoothly.
If you find any uneven pieces, go back in with your scissors and gently blend them using point-cutting techniques. Take your time here—this is your chance to fine-tune and perfect the look. Remember, it’s always better to trim little by little than to overcut.
Step 7: Style as Usual
Now that your haircut is complete, go ahead and style your hair the way you normally would. Blow drying with a round brush can help accentuate the layers and give your hair more volume. If you prefer curls or waves, use a curling wand or flat iron to see how the new shape moves and flows.
Styling your hair will also highlight any areas that may need slight adjustments, especially if some sections fall heavier than others. Don’t worry if it’s not perfect—layers are meant to look soft and natural, not overly precise.
FAQs About Cutting Layers at Home
Can I cut layers into curly hair at home?
Yes, but curly hair behaves differently than straight or wavy hair. It’s best to cut curly hair dry, curl by curl, following the natural pattern. This helps avoid shrinkage issues and gives you a better idea of the final result. Always cut less than you think you need—curly hair bounces up!
How often should I trim my layers?
To maintain your layers and keep your ends healthy, trim every 8 to 10 weeks. If you notice split ends or your style losing its shape, that’s a sign it’s time for a refresh.
What if I mess up the cut?
First, don’t panic. If it’s only slightly uneven, you can usually blend it with a bit more trimming. For major mistakes, it’s best to go to a professional to correct it. Remember—hair grows back, and it’s all part of learning.
Can I cut layers into short hair?
Yes, but short haircuts require more precision, especially around the crown and face. If you’re new to DIY cuts, start with longer hair first, then work your way toward more complex styles as you gain confidence.
Are thinning shears necessary for home cuts?
Not necessarily. Thinning shears help remove bulk and soften the edges, which is useful for very thick or heavy hair. However, for basic layering, regular sharp scissors will do just fine.
Conclusion
Cutting layers at home might feel intimidating at first, but with a bit of preparation and a steady hand, it’s a totally achievable skill. Whether you’re in between salon visits or just prefer doing it yourself, learning how to layer your hair can save you time, money, and give you more control over your personal style. Start with simple methods like the ponytail cut, stay patient, and don’t rush the process. The more you practice, the better you’ll get. And remember: sometimes the best hairstyles come from a little bit of DIY confidence.
So go ahead—grab those scissors and give your hair the fresh, layered look it deserves.