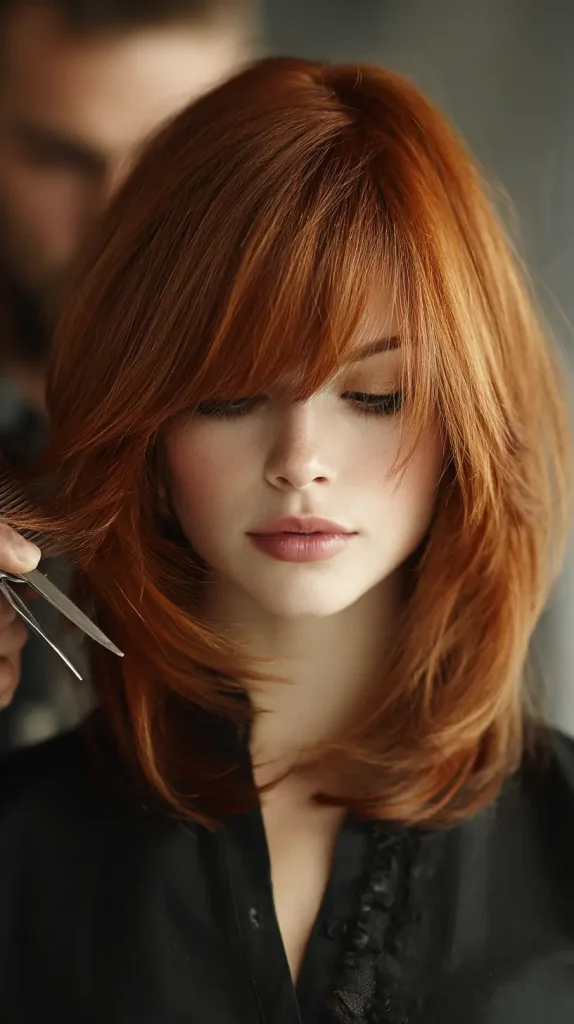
How to Cut Your Own Hair in Layers: A Simple, Honest Guide for Real People
Cutting your own hair might sound like something best left to professionals, but it’s a surprisingly doable skill that many people are learning—either by necessity or curiosity. Whether you’re stuck between salon appointments, looking to save money, or just want to take creative control over your appearance, learning how to cut your hair in layers can be both practical and empowering. Layered cuts add movement, volume, and style to all hair types, making them one of the most versatile options out there. And the best part? You don’t need expensive equipment or professional training to get started—just patience, the right tools, and the willingness to try.
What You’ll Need Before You Start
Before you even think about taking scissors to your hair, it’s crucial to get the right setup. This isn’t like trimming paper or snipping loose threads on clothes—your hair is delicate, and a bad tool can do more harm than good. Start with sharp hair-cutting scissors, which are specifically designed to cleanly slice through hair without causing damage or fraying. Using regular household scissors can result in split ends and uneven cuts. Next, you’ll need a fine-tooth comb for precise parting and smoothing out tangles, plus hair clips or elastics to section your hair in manageable portions. A spray bottle filled with water helps you keep your hair damp for better control. A mirror setup is also key—ideally a stationary mirror in front of you and a handheld one to check the back. Finally, cover your shoulders with an old towel or hairdressing cape to stay mess-free.
A Step-by-Step Guide to Cutting Layers at Home
Learning how to cut layers at home starts with understanding how hair falls and how layers affect the overall shape of your haircut. Layers don’t just make your hair look stylish—they can also lighten thick hair, add movement to straight styles, or even enhance curls. This beginner-friendly method, often called the “unicorn cut” or “ponytail method,” creates long, blended layers using a high ponytail technique.
Step 1: Start with damp, detangled hair
Lightly damp hair gives you more control over cutting—it clumps together and lays flatter, which allows for more precise trimming. However, be cautious: wet hair appears longer, so what seems like a small snip could dry shorter than expected. For curly or textured hair, it might be better to cut dry or only slightly damp so you can see the natural curl pattern and avoid cutting too much. Always detangle your hair completely using a wide-tooth comb or brush to ensure that it lies flat and straight before cutting.

Step 2: Flip your head upside down
This is where the magic of the layered shape begins. Bend forward and brush all your hair to the front, creating a ponytail at the top center of your forehead—right above your eyebrows or the bridge of your nose. The positioning of the ponytail dictates the shape and depth of the layers. A ponytail that’s closer to your forehead will create dramatic, graduated layers, while one positioned further back (near the crown) will result in softer, subtler layers. Make sure the ponytail is sleek and tight; bumps or twists can affect the evenness of your final cut.

Step 3: Decide how much to cut
The length you snip off here will directly determine the shortest layer in your hair. If you’re hesitant, start small—maybe just an inch or two. You can always go back and trim more later, but you can’t glue it back once it’s cut. As a rule of thumb, 1 inch off the ponytail could translate to a 2–3 inch difference in your top layers. This technique creates a V-shaped layering effect, so keep that in mind when planning how dramatic you want your final result to be.

Step 4: Cut straight across or point cut
Use your fingers to hold the ponytail tightly, and then make the cut. You can cut straight across for a more structured, edgy look, or point cut (snipping vertically into the hair) for a softer, feathered finish. Point cutting is ideal if you want a natural, blended appearance—especially if you’re not planning to heat style your hair every day. Take your time. Don’t rush this part. The more patient and precise you are, the better the outcome.
Step 5: Shake it out and assess
This is the big reveal. Remove the elastic and shake your hair out. Flip your head back and let your hair fall naturally. Run your fingers or a brush through it and observe how the layers sit. Look in the mirror from the front and sides. You’ll notice that the hair around your crown and front is now shorter, creating volume and dimension, while the back remains longer and more fluid. If you notice anything uneven or too long, you can go back and do small adjustments.
Step 6: Clean up the shape
This step is your opportunity to fine-tune the layers. Split your hair down the middle, bring sections from each side toward the front, and make sure they are symmetrical. Hold out one side, check the angle and length, then match the other side. This is especially important if you’re going for a more polished look. If needed, make tiny snips using the point-cutting method to blend uneven chunks or soften harsh lines.
Step 7: Optional face-framing or fringe layers
Want a little extra flair? Add soft, face-framing pieces by sectioning off the front part of your hair near your cheekbones or jawline. Twist small sections slightly and cut diagonally downward, starting below your chin for a more subtle look. If you’re feeling bold and want curtain bangs or fringe, start longer than you think you’ll need—they shrink when dry—and trim gradually while constantly checking symmetry.
Advanced Layering (For When You’re Ready to Level Up)
Once you’ve tried the basic ponytail method and feel more confident, you might be interested in more advanced techniques that allow for greater control and customization.
- Two-Ponytail Method: Divide your hair into two ponytails—one for the front half of your head and one for the back. This allows you to tailor the layering of your crown and nape areas separately. It’s especially useful for thick or dense hair where a single ponytail doesn’t give enough definition.
- Slide Cutting: Hold small sections of hair between your fingers and gently glide your scissors down the shaft, cutting as you move. This technique is ideal for softening layers and adding a natural taper.
- Razor Cutting: A texturizing razor gives layers a wispy, airy finish, but it takes practice. Razor cuts work well on straight and wavy hair, but be cautious—if used too aggressively, they can lead to frizz or unevenness.
Real Talk: Who Should (and Shouldn’t) Try This?
This DIY approach is perfect for:
- People with medium to long hair who want to refresh their look at home
- Those who prefer a casual, low-maintenance hairstyle with texture and volume
- Anyone who is comfortable using scissors and mirrors and willing to learn through trial and error
It may not be ideal for:
- People with very short hair, where layering requires precision angles and a different cutting technique
- Those with very thick, curly, or coily hair who have never cut their own hair before—these textures require special attention and dry cutting methods
- If you’re prepping for a wedding, interview, or important event, it’s probably safer to let a professional handle it
FAQs
Will layers work on my hair type?
Layers can work for almost all hair types. On straight or wavy hair, they add movement and texture. For curly or coily hair, layers can reduce bulk and help shape the curl pattern—but dry cutting is often more effective for these textures.
What’s the difference between face-framing layers and full layers?
Face-framing layers are shorter pieces at the front of the hair that highlight your features, especially around the cheekbones and jawline. Full layers are cut throughout the entire head to add volume and structure.
How can I make sure both sides are even?
Always cut in front of a mirror and work in small sections. After trimming one side, hold out a matching section from the other side and compare lengths visually. A friend or a second mirror can help you check the back if needed.
Can I layer my hair if it’s already short?
Short hair can be layered, but the technique is more complex. It usually involves precision cutting with multiple sections and angles. Unless you’re experienced or have a very specific goal, it’s best to visit a stylist.
What should I do if I mess it up?
Don’t panic. If it’s a minor mistake, you may be able to fix it yourself with careful adjustments. For major errors, consider visiting a salon for a corrective cut. Even pros make mistakes sometimes—what matters is learning from them.
Conclusion: It’s Just Hair—And You’ve Got This
Cutting your own hair in layers might feel intimidating at first, but it’s also one of the most rewarding self-care skills you can learn. You’ll not only save money but also gain confidence in your ability to maintain and shape your style on your own terms. Like anything else worth doing, it takes a bit of patience, a willingness to learn, and the courage to try.
Don’t aim for salon perfection on your first attempt. Instead, focus on making small, careful changes. With time, you’ll start to develop a better feel for how your hair behaves and what layering techniques work best for you.
Your hair is an extension of your personality—and you’re in charge of it.